|
Sometimes I dream about the iced sugar cookies from Sam Mazza's. And by sometimes I mean on almost a weekly basis. I spent a good part of my childhood believing some variation of a cookie fairy delivered these to my Grandma's house like clockwork every time we visited. I'm now an adult who could probably just, I don’t know, just go to Sam Mazza's and buy some cookies, but I think a small part of me doesn't want to kill the magic (or drive the 4+ hours to Burlington, VT). However, that won't stop me from trying to recreate the magic myself. The truly magical part of these cookies, or at least the part that has cemented itself in my food memory, is the icing. It was always the perfect thickness – not visibly clunky but substantial enough that it snapped satisfactorily between your teeth. The best cookies in the box were those that fell subject to immense drips of icing sliding haphazardly off their sides. After many trials and tribulations, I think I’m almost there with this recipe. I’ve adult-ed my childhood favorite up a few notches by making the base sugar cookie into a delicate marzipan riff. I’ve including instructions on how to relegate your icing tidily into a border and even add some décor with the leftover marzipan and a simple round tipped piping bag. If you want to recreate the classic cookie though, just pour that icing all over your cookies and let it ooze gloriously down the sides (I’d recommend doing this over parchment paper for easier cookie extraction). A couple of notes on icing. I tried a few attempts where I mixed up a thick border icing and a thin flood icing and have found this to be a bit more trouble than its worth. As long as your icing is the right gooey consistency, you should be able to do the border and flood with the same batch as you move along. I found that this gives you a much smoother texture and reduces a lot of the work. The photos accompanying this blog post are an example of one of my earlier frosting tests and you can see where the border meets the flood (not cute) – the recipe below is simplified and will work like a charm. Decorating tip! Most marzipan at the store comes in 7 oz. packages – the leftovers from the recipe make either a delicious snack, or cute decorations. Marzipan can be easily tinted with a small dab of gel food coloring that you work into it with your fingers like play dough. The hearts I used to decorate these cookies are easily made by rolling out small pea sized balls, shaping those into flat triangles, and pressing in the center of one edge as pictured above. Marzipan Cookies with IcingServes: roughly 2 dozen cookies, depending on cookie cutter used
Total time: 3-4 hours (+24 setting time) Source: Adapted from Sally’s Baking Addiction 3/4 cup unsalted butter In a stand mixer or with a hand mixer, cream together the butter and marzipan. Add the sugar and beat until the mixture is light and fluffy (you’ll likely still have some marzipan lumps). Add the egg, vanilla, and almond extract and beat on high for two minutes to combine. In a separate bowl, whisk together the flour, baking powder, and salt. With the mixer on low, add half of the flour mixture until just combined and then add the other half of the flour mixture until combined.
Divide the dough into two even pieces and gently roll each of the pieces out on parchment paper to about ¼ inch thick. It’s going to be a little sticky and weird looking – but trust me it’s easier than muscling cold dough out into an even thickness. Put the rolled out dough in the refrigerator separated by parchment paper and chill for at least an hour (you can speed up the process by popping it in the freezer for 20 minutes). While the cookie dough is chilling, preheat the oven to 350°F and line two baking sheets with parchment paper. Remove one sheet of the dough from the refrigerator and cut out your desired shapes with a cookie cutter. Place the shapes on the baking sheets and bake in the oven for 10-12 minutes, one sheet at a time. Depending on your cookie shape, they may need a few more minutes in the oven – the cookies should be just barely cooked all the way and not yet browning around the edges. Cool the cookies completely before moving on to icing. While the cookies are cooling, it’s time to make the icing. Sift all of the confectioners sugar into a large bowl. Add the corn syrup, water, vanilla extract, and food coloring (if using). Whisk everything together until the icing slides off the whisk in slow gentle ribbons. If the icing is too thick and is breaking instead of ribboning – add water a tablespoon at a time until it’s right. If this icing is running so quickly off the whisk that it will slide right off the cookies when you ice them, add confectioners sugar a tablespoon at a time until it’s right. When you’re satisfied with your icing, place it in a piping bag fitted with a small round piping tip (I used the Wilton #5 tip). You can also just snip off a little bit of the end of the piping bag. Now, with a cookie in hand, pipe a border about ¼ inch from the edge of the cookie and then “flood” the interior with parallel lines back and forth. You can use a toothpick or other small pointy instrument to nudge gaps in the icing together. As the cookie sits, some of the gaps may naturally close. If you made any marzipan decorations – now is the time to plop those cuties on top while the icing is still wet, sprinkles also work great here too. Let the cookies dry for 24 hours to achieve ultimate icing crunch.
0 Comments
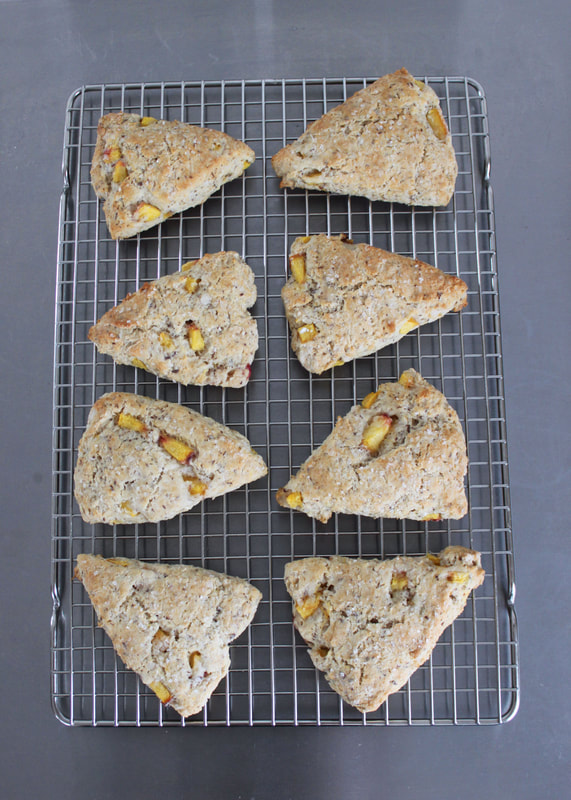
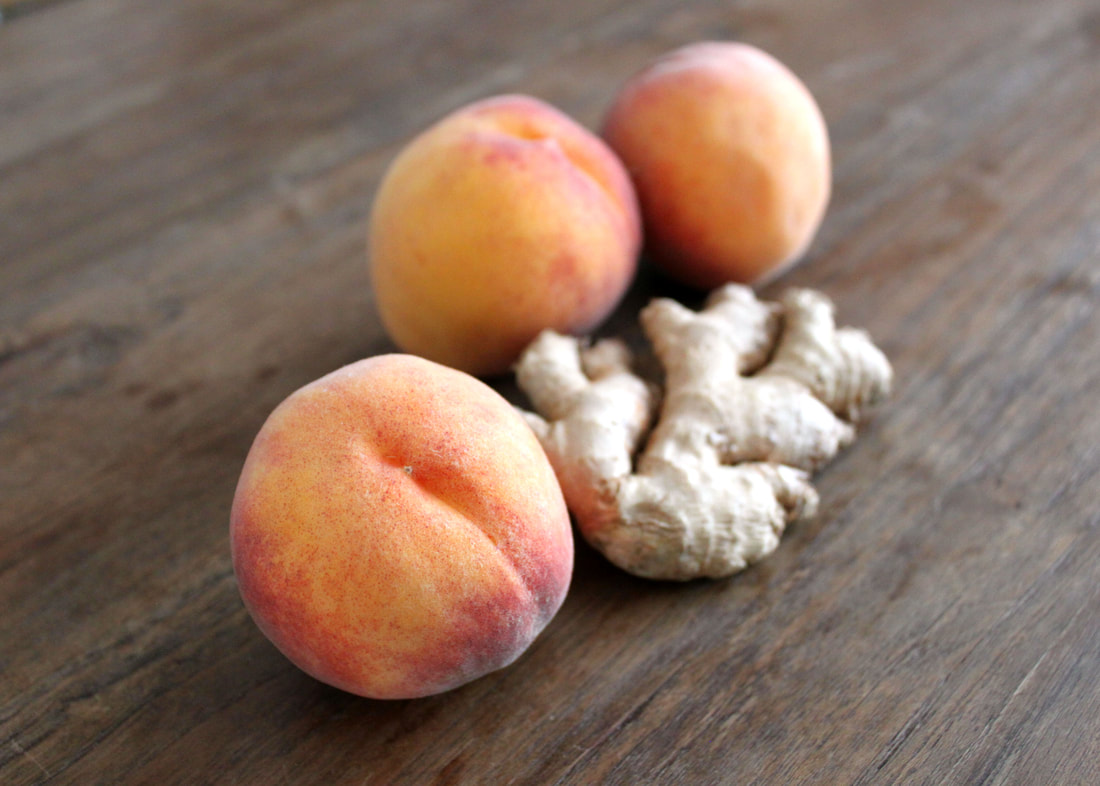
These scones are what I make on Saturday mornings when I wake up craving baked goods with a certain level of urgency. Which are most weekends, if I’m being honest. The recipe is dead simple, and made even easier to whip together in a few minutes because the coconut oil is much more forgiving than the cold, cold butter required of most scones. This also makes these scones my favorite “healthy” feeling breakfast treat. The recipe is incredibly versatile (thanks, Minimalist Baker), but so far this is my favorite adaptation – serving up fresh chunks of peaches and finely grated ginger. It’s vegan – but you can 100 percent make it not vegan if that’s not your jam, and sub in an egg and milk instead. These scones can’t compete with those that are laden with heavy cream and butter (there’s just no replicating the magical puff you get from those champion fats), but they do stand on their own as totally satisfying and a little less guilt ridden as the sole provider for your breakfast meal. Vegan Peach Ginger SconesServes: 8
Total Time: 40 minutes Source: Adapted from Minimalist Baker’s “Coconut Oil Blueberry Scones with Rosemary” 2 cups all purpose flour Preheat the oven to 400°F. Line a baking sheet with parchment paper. Combine the flax and water and set aside while you mix the other ingredients.
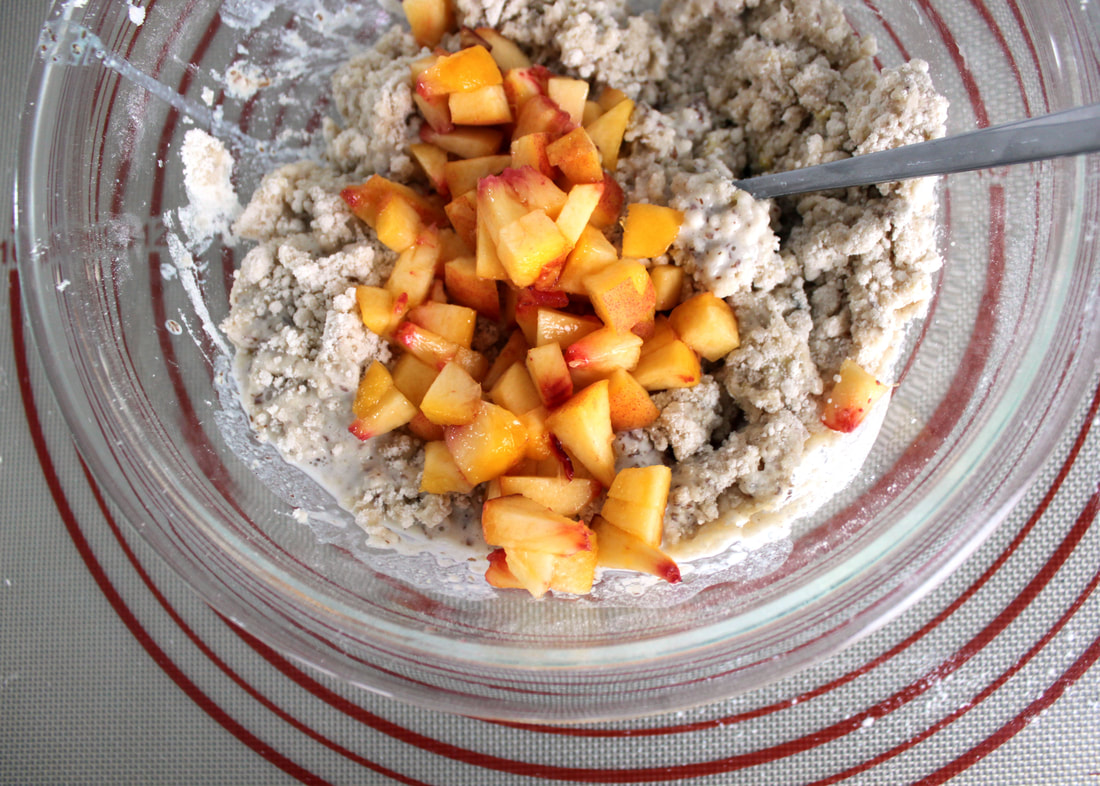
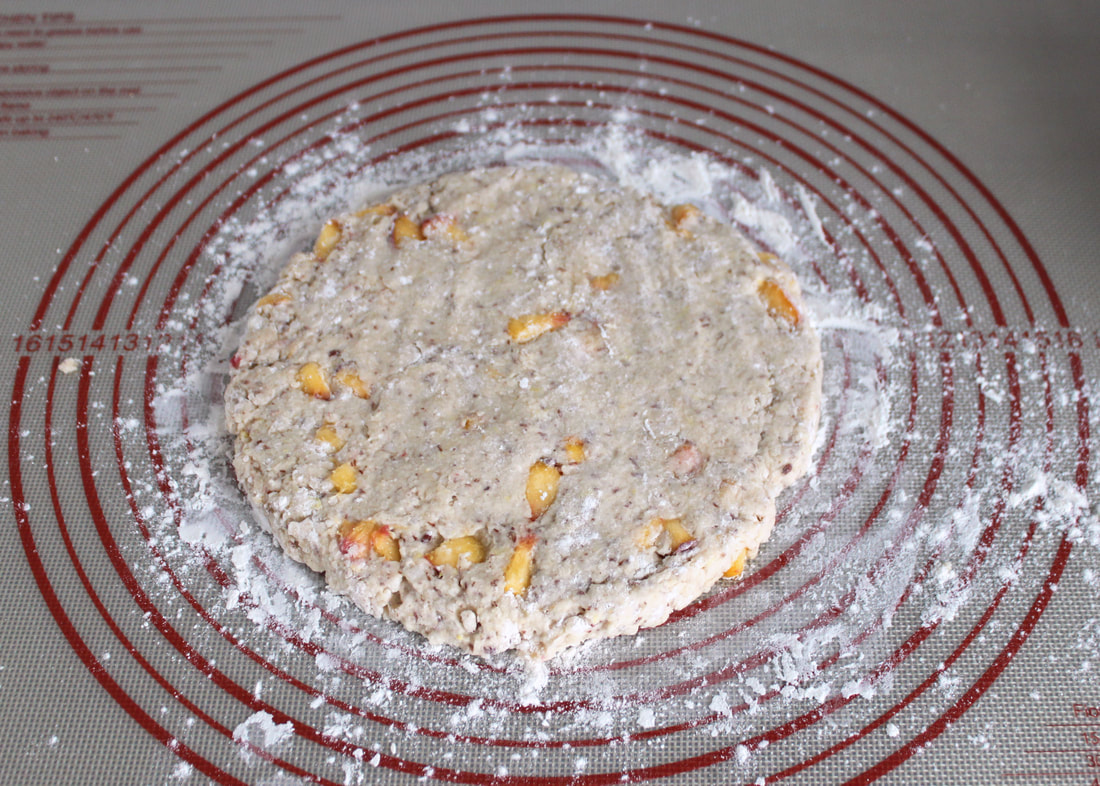
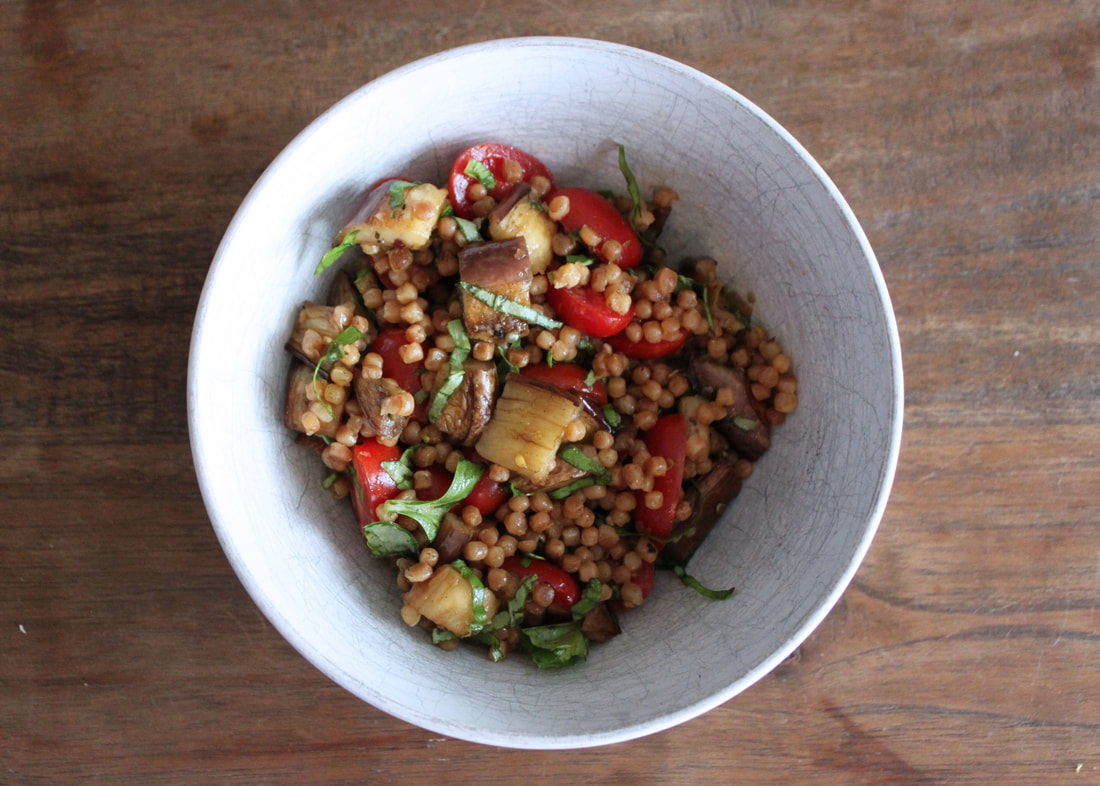
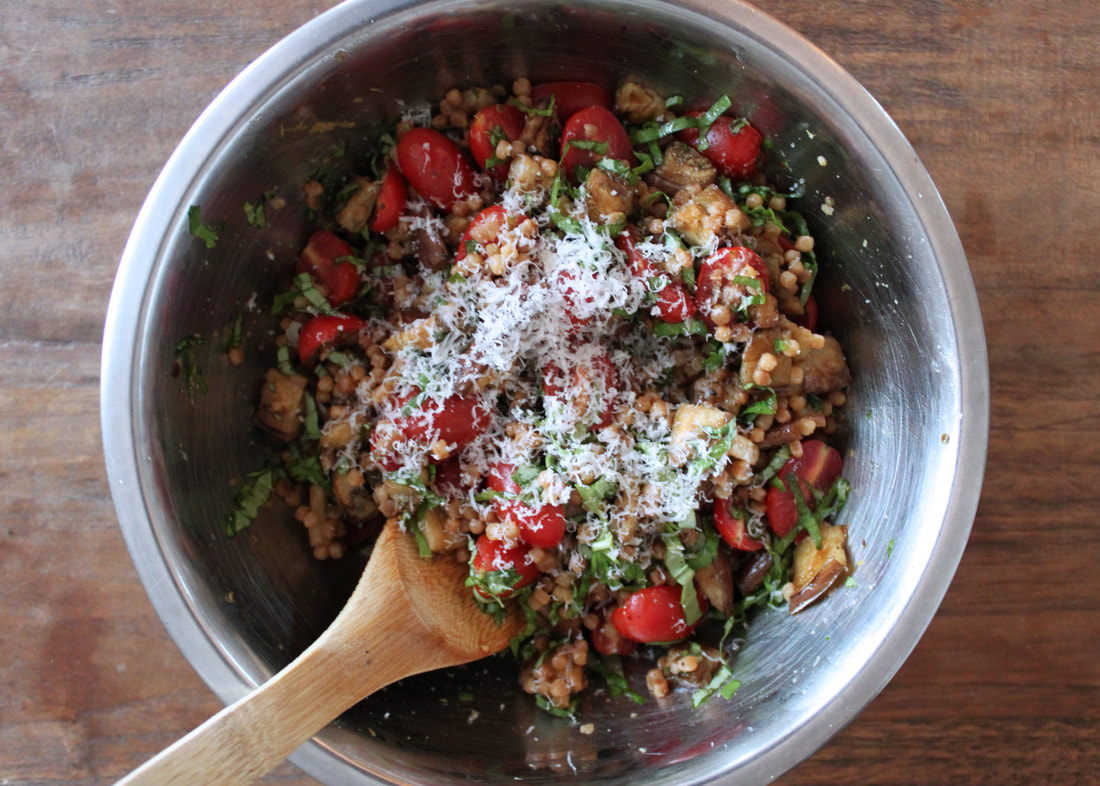
In a large bowl, combine the flour, sugar, baking powder, salt, and cinnamon. With a fork or pastry cutter, mash the solid coconut oil into the dry ingredients until it’s just combined and slightly sandy. Stir in the grated ginger. Stir the flax egg into the almond milk, and then pour into the bowl with the dry ingredients. Stir gently to just barely bring the dough together (make sure not to overwork it – or you’ll lose the delicate crumb), adding the peaches halfway through to distribute throughout the dough. Dump the dough onto a well-floured surface and shape into circle about an inch thick. With a knife, slice the circle into eight pieces (like a pizza), and place on the baking sheet. Sprinkle with granulated sugar if you’re feeling fancy. Bake the scones for 25 minutes or until slightly golden. To be completely honest, which by now you may have deduced is my style with an undercurrent of sarcasm, this recipe is entirely based on a craving I had for several weeks in July. It being mid-summer, I was desperate for something light that still delivered the rich flavors and comfort of eggplant parmesan. I disregarded the tenants of strict seasonality and procured myself some sad grocery store eggplants to fill the void in my stomach that was shouting for creamy eggplant. Lucky for you, I’m a procrastinator when it comes to posting on my blog in a timely fashion. Now, we’re now knee deep in late summer/early fall vegetables and you can swipe up eggplants of all sizes and colors for this recipe. Three things will get this recipe where your heart wants it to be. First, is basting the eggplant in balsamic vinegar that wouldn’t offend your nose if you tasted it on its own. Second, is getting a deep toast on the couscous to get the necessary texture and flavor. And, lastly, don’t skimp on the parmesan. With a fairly simple ingredient list, every component on its own should bring something worth tasting to the table. The baking method for the eggplant may seem a little convoluted at first, but it will get you a supple, silky, and caramelized flavor, and that requires a little extra baking time. Everything else you need comes together easily while the eggplant bakes, and quickly tosses together in one bowl to serve. Eggplant Parmesan CouscousTotal time: 1 hour
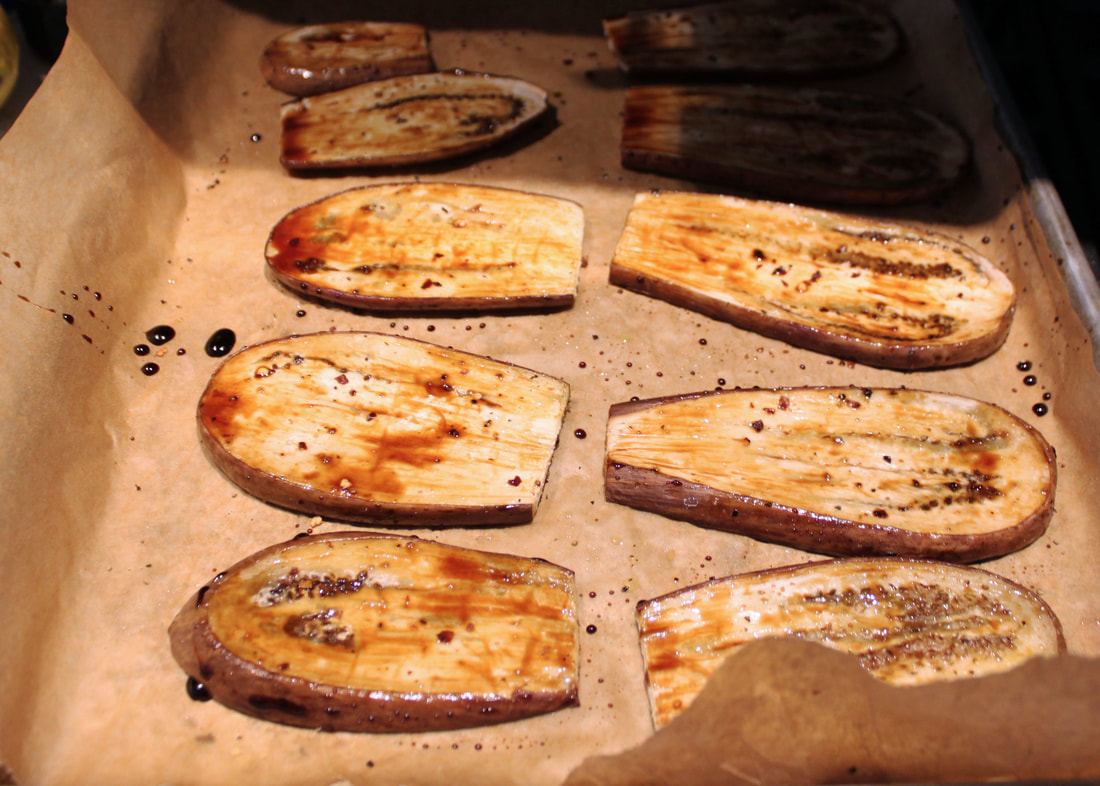
Serves: 4 people 2 mid-sized eggplants, sliced ¼ inch thick Preheat the oven to 375°F. Sprinkle the eggplant slices with sea salt and set aside for 10-15 minutes to let the moisture draw out.
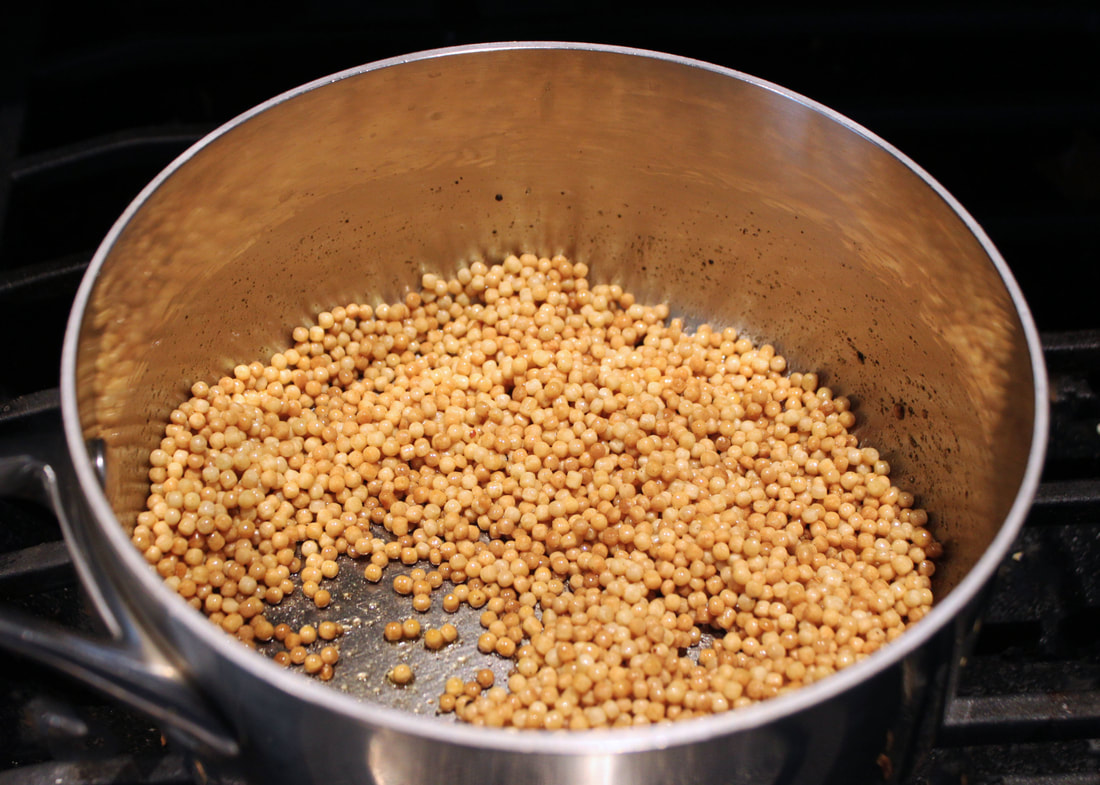
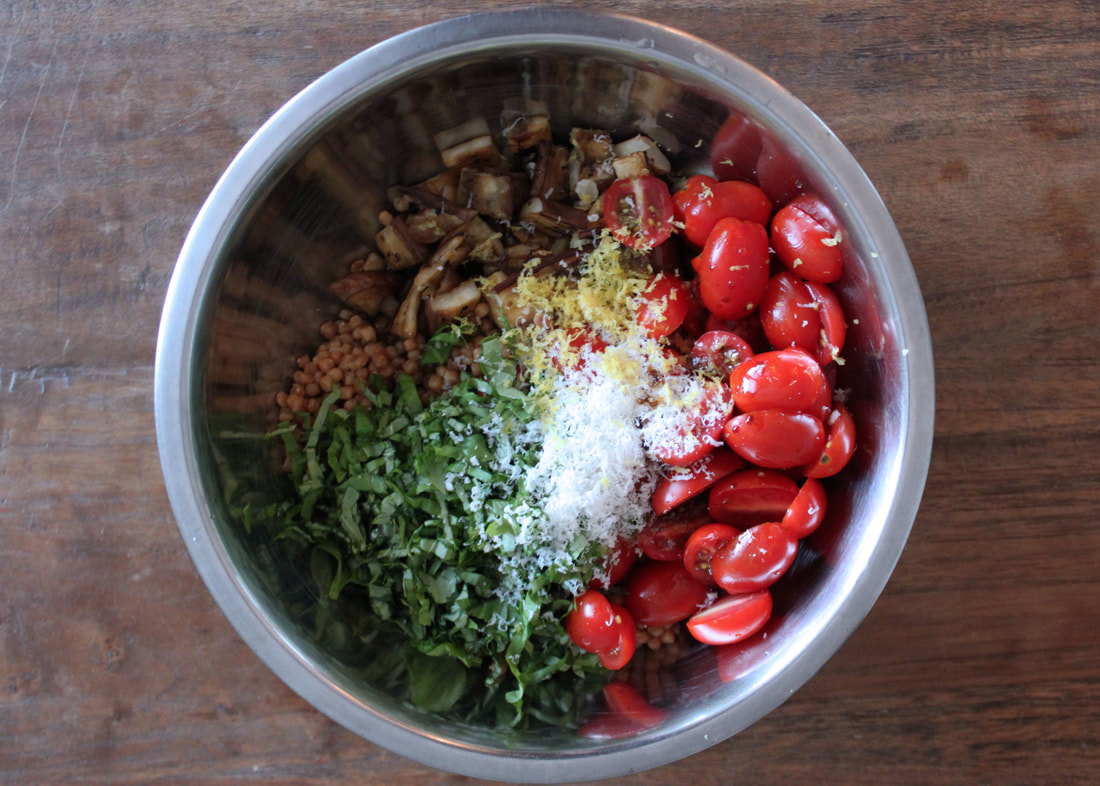
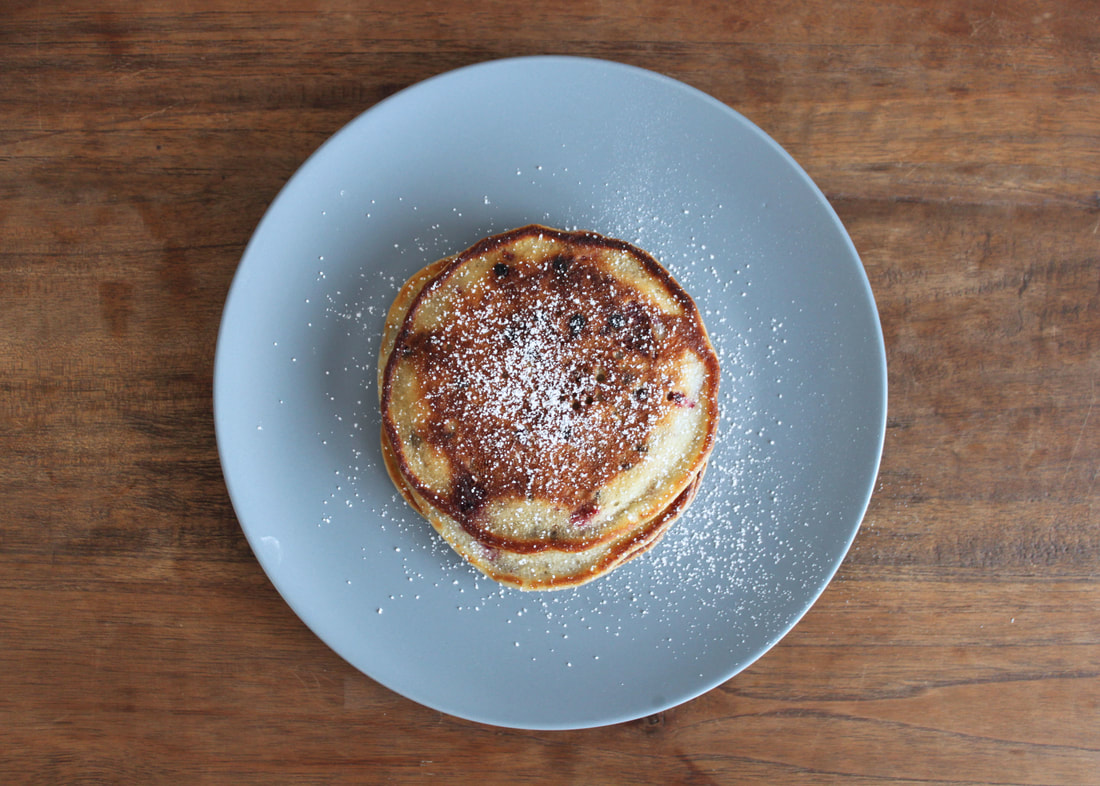
Line a baking sheet with parchment paper. Once you start to see droplets collecting on the eggplant, wipe the slices down with a paper towel and lay them out on the baking sheet. Drizzle the slices with 3 tbsp. of olive oil, ground black pepper, and red pepper flakes on both sides. Pop the baking sheet in the preheated oven and cook for 25 minutes, flipping the eggplant halfway through. After 25 minutes, remove the eggplant from the oven and brush both sides of the eggplant slices with balsamic vinegar using a pastry brush. Pop the eggplant back in the oven for 10 more minutes, flipping the eggplant halfway through. While the eggplant is roasting, heat 2 tbsp. of olive oil in a saucepan over medium heat. Pour in the couscous, along with the salt, cumin, and paprika. Toast the couscous until golden brown, stirring frequently to prevent anything from burning or sticking (usually takes about 5 minutes). Once the couscous is nice and toasty, add the water and turn down the heat to medium-low. Simmer for about 10 minutes, until all the water has been absorbed and the couscous is tender. If the couscous is still crunchy, add a little more water and cook longer. When the couscous is cooked through, remove from the heat and cover to keep warm while prepping the other ingredients. When the eggplant is done, let it cool just enough to make it easy to handle. Chop the slices into ½ inch squares. Combine the couscous, eggplant, tomatoes, basil, lemon zest, parmesan, and 1 tbsp. of olive oil in a large serving bowl. Have a taste and add more salt, fresh ground pepper, or parmesan as needed. I present to you my go-to pancake recipe, all dolled-up and ready for the most show-stopping brunch activities. Admittedly, I’ve always been a diehard plain pancake girl. Aligning with my childhood preference for vanilla ice cream over chocolate ice cream and abhorrence of anything to do with chocolate (yes, I was hugged as a child, and no, I’m still not sure what was wrong with me). While I’ve since abandoned my past misguided flavor preferences, I still standby my penchant for plain pancakes. Until now, I had not found a pancake that could beat out a stack of perfectly puffy and unadulterated pancakes with maple syrup and butter pooling over the top and down the sides. Why then, am I giving you this recipe for anything-but-plain pancakes? Because nothing says, “I love you,” more than taking the time, out of arguably the Best Time of day, to go about the ritual of whisking, pouring, and patiently flipping together a decadent breakfast spread for your loved one(s). The first time I made these particular pancakes; they were a concession to my sweetheart’s pleas for chocolate chips, along with some scrounging around in the fridge and freezer to locate the punchy additions of lemon zest and raspberry to balance out all the richness. He’s stuck around, and so did this flavor combination as my stand-in when I’m craving a little something extra. For this recipe, I’ve abandoned from the original prescription of buttermilk, which I almost never have on hand, and found I have the most success with a mix of Greek yogurt and whole milk instead, which I almost always have on hand. If you haven’t discovered just how simple it is to make pancakes from scratch, then this recipe is for you. May the rest of your days be filled with sleepy Sunday mornings, Real Maple Syrup, and piles and piles of buttery pancakes made with love. P.S. If you are musing over using anything other than Real Maple Syrup to accompany these pancakes, I’d recommend honey as a much more preferable alternative than the-substitute-syrup-that-shall-not-be-named. Raspberry Chocolate Chip PancakesTotal time: 15 minutes prep, 20-30 minutes cook time
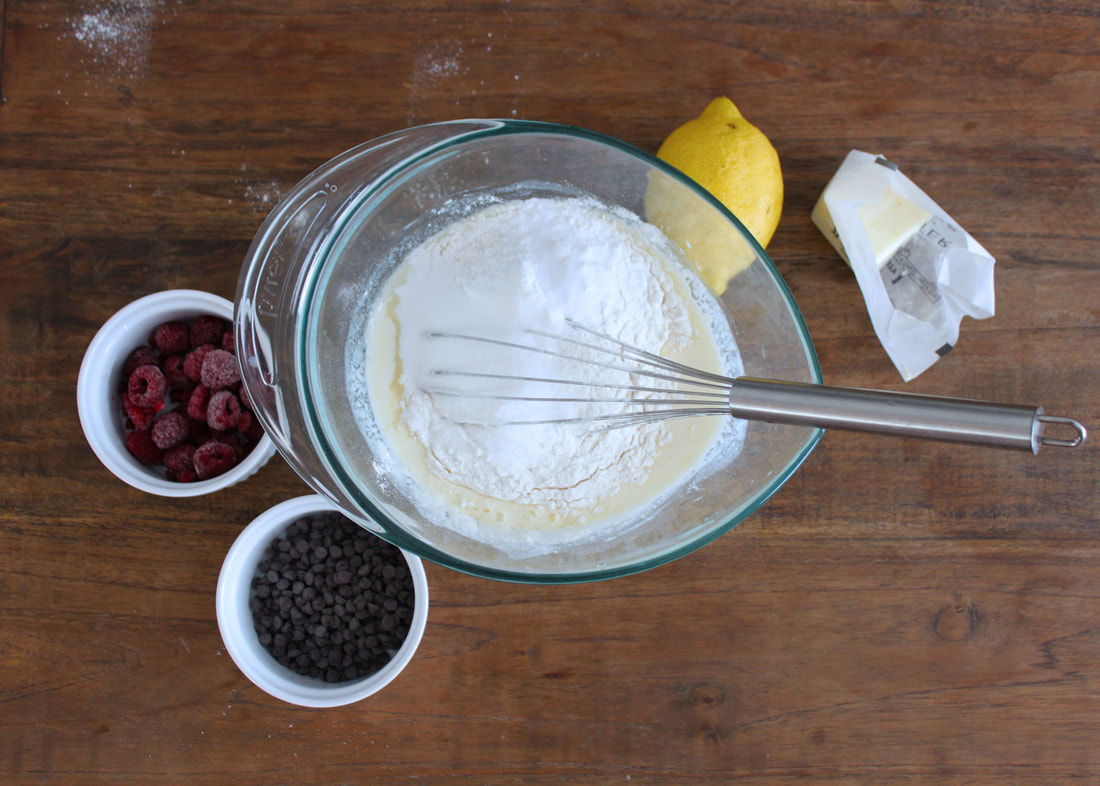
Serves: 4 people (more, if you make the pancakes smaller) Source: Adapted from The Country Innkeepers' Cookbook ½ cup full fat Greek yogurt In a large mixing bowl, whisk together the yogurt and milk until smooth. Crack the eggs into the bowl and whisk to incorporate with the yogurt and milk. Add the flour, sugar, baking powder, baking soda, and salt. Whisk until nearly all the lumps are gone, and then stir in the melted butter.
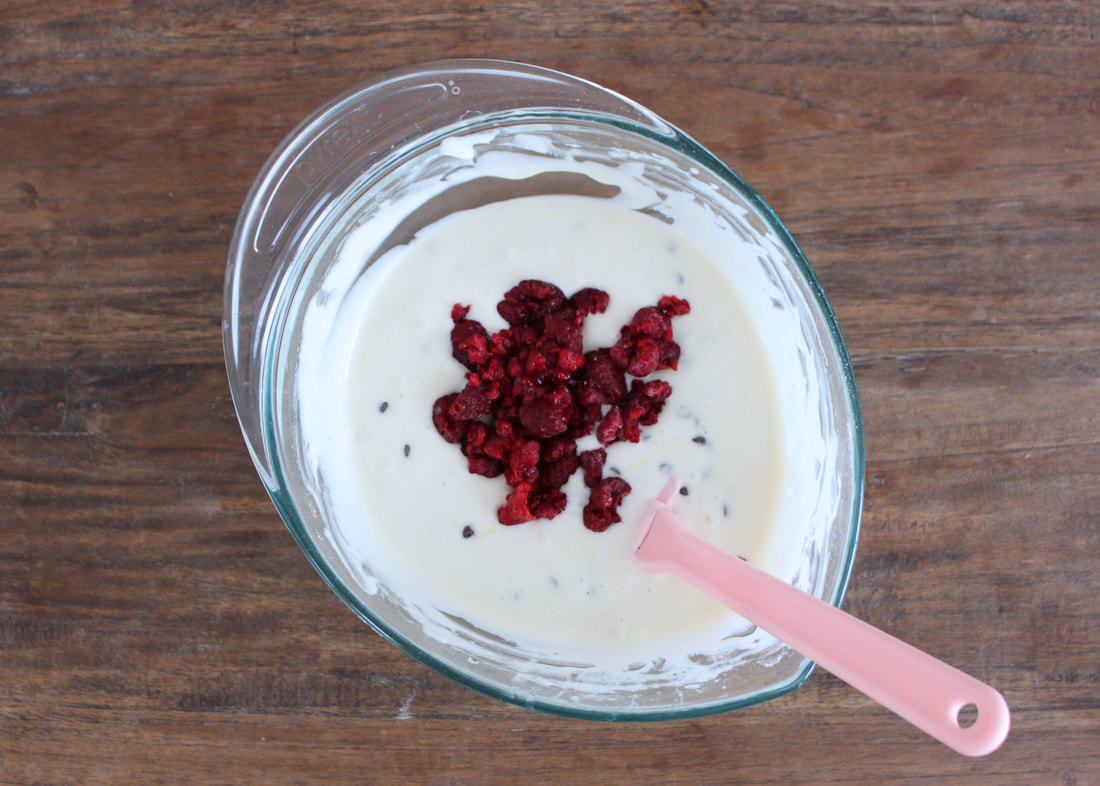
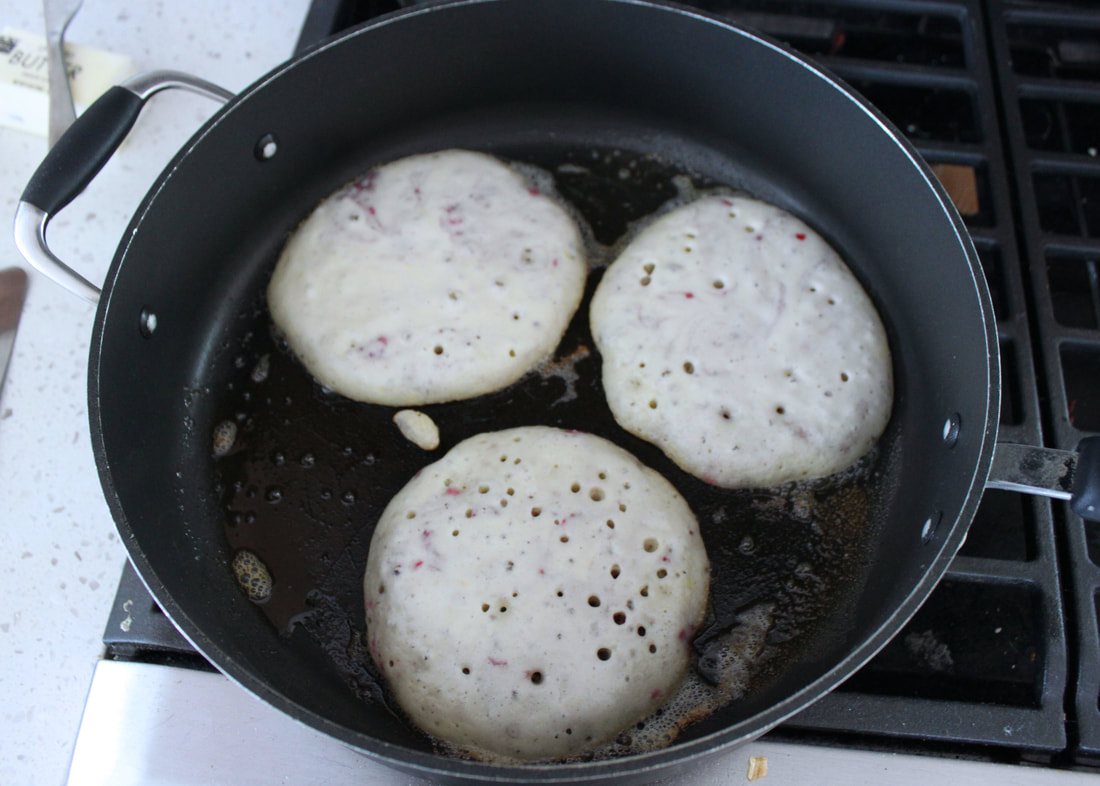
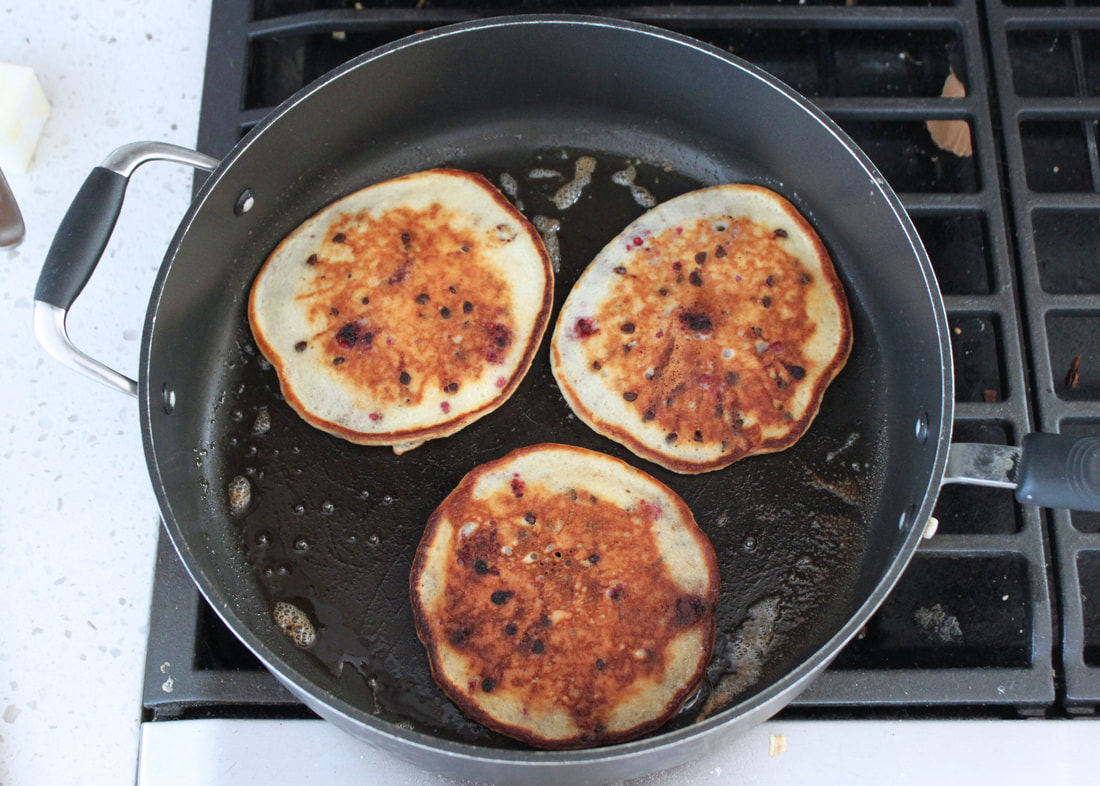
Place a large skillet over medium-low heat. If you have an electric griddle, that makes mass-producing these pancakes a dream, but if your kitchen is limited in size like mine, any pan with a good amount of flat surface area will do. While the pan is warming up, fold the lemon zest and chocolate chips into the batter. If you are using frozen raspberries, break them apart into smaller chunks and gently fold the berries into the batter. For fresh berries, simply tear or slice the berries into smaller pieces and fold into the batter. Once your cooking surface is warm, rub the pan down with a pad of butter. It should bubble energetically, but not brown up immediately – if it does, your pan is too hot. You can test the temperature with a small dab of butter if you’re unsure about the temperature. Using a 1/3 cup measure or soup ladle, dollop 2-3 circles onto the pan (or as many as fit with some breathing room). Cook the pancakes on the first side for about 3-4 minutes, or until you start to see bubbles appear across the top pancake and the underside is golden brown. Use a spatula to flip the pancakes and cook another 2-3 minutes, also until golden brown. Remove the pancakes and tuck them under a towel on a serving plate to keep warm. Reapply butter to the pan, and repeat the cooking process for the remaining batter. To serve, place 2-3 pancakes on a plate, dust with powdered sugar, and drizzle liberally with real maple syrup. This recipe is a bit of a late spring, early summer, love story. It’s the time of year when you get to fall in love with your ingredients again, and find new ways to make them shine. This year, I became acutely aware of the spring fling many foodies, farmers, and chefs have when asparagus is at its peak. Their shared obsession with the fleshy and flavorful spears is a borderline infatuation – with nearly every recipe or menu boasting a new method for preparing this springtime fantasy. As soon as Deb’s recipe for pasta salad with roasted carrots and sunflower seed dressing popped up on my Instagram feed, my heart fluttered and I knew I had to court it in my kitchen immediately. I could already taste the sweetness of the oven-roasted carrots melting in my mouth against the slight crunch of the sunflower seed dressing, effectively masquerading pasta as a healthy lunch. I fell in love with this recipe even more in practice because it tricks you into thinking it’s going to be labor intensive with the roasting, boiling, blending, and saucing involved. But each piece comes together smoothly while the other piece is cooking along, making it a well-orchestrated dish for an early summer weeknight meal. While the foundation of the recipe below sticks closely to Deb’s recipe genius, I opted to add some vegetable diversity and pay homage to our springtime debutante, asparagus. I swapped the carrot tops out for parsley for a brighter and less bitter taste. Spring Vegetable & Sunflower Pesto PastaTotal time: 45 minutes
Serves: 4-5 people Source: Barely adapted from Smitten Kitchen’s Pasta Salad with Roasted Carrots and Sunflower Seed Dressing One bunch asparagus (thick stalks work well here) Preheat the oven to 500° F and fill a large pasta pot with water, salted and put over high heat to come to boil. Line a large baking sheet with parchment paper.
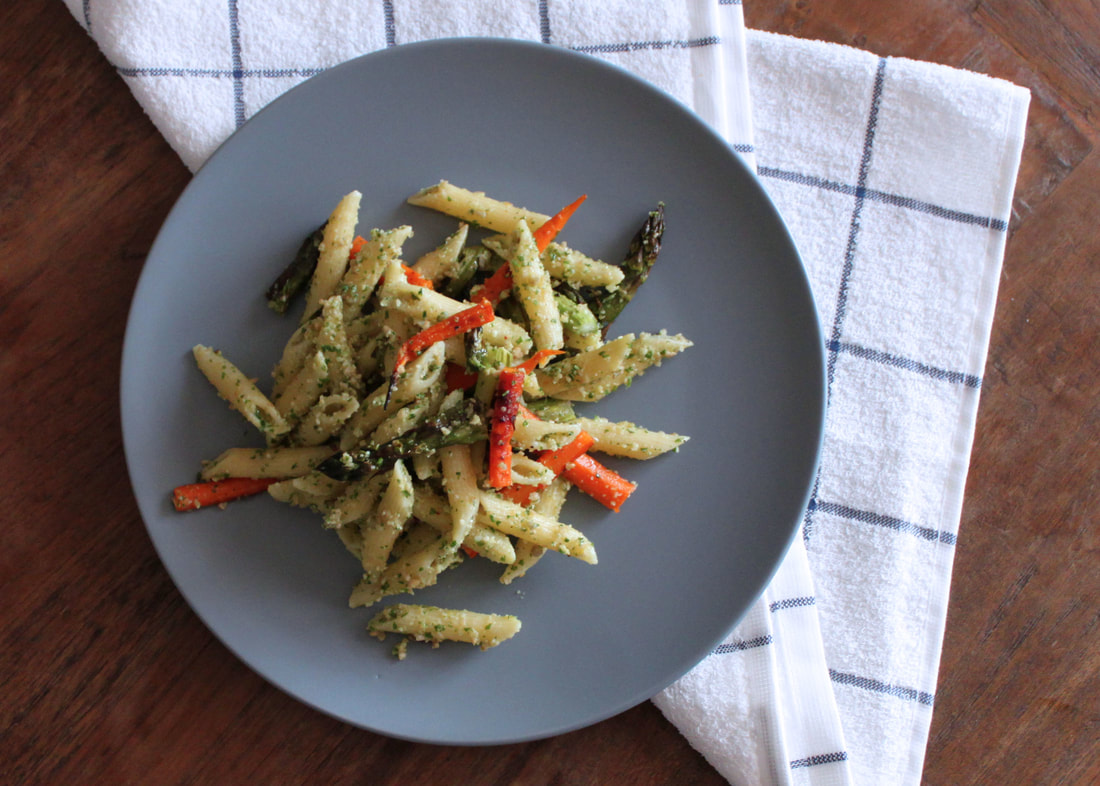
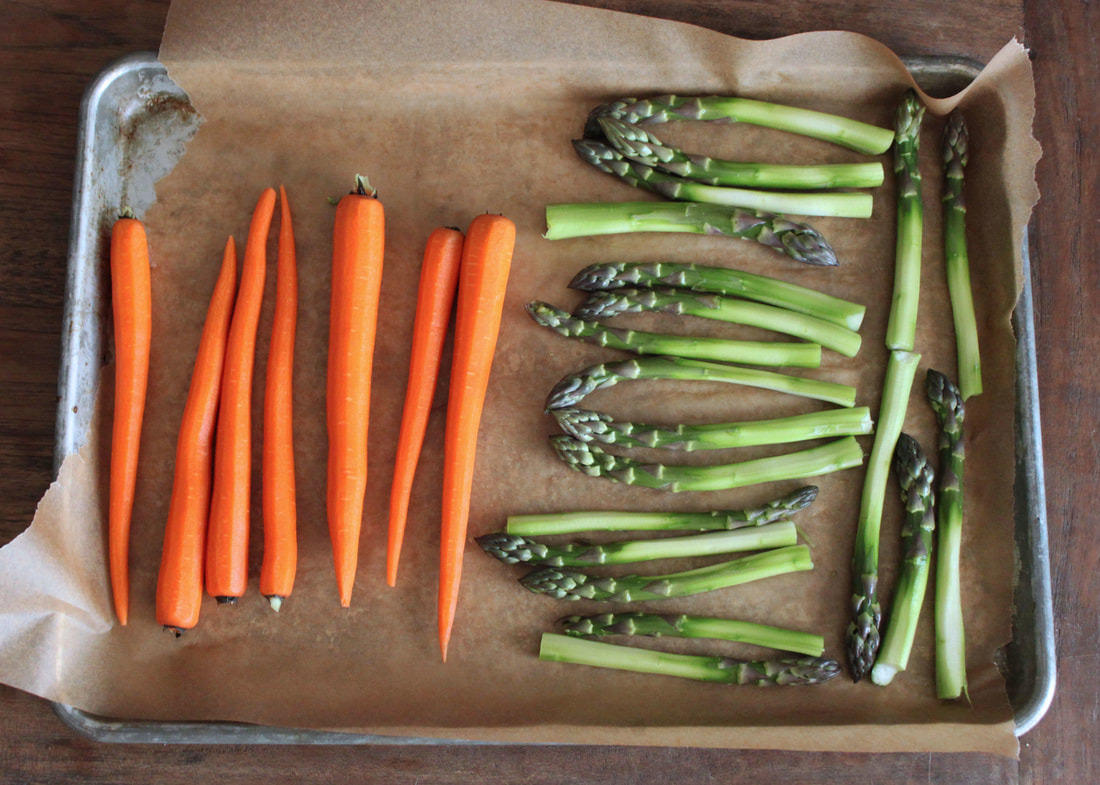
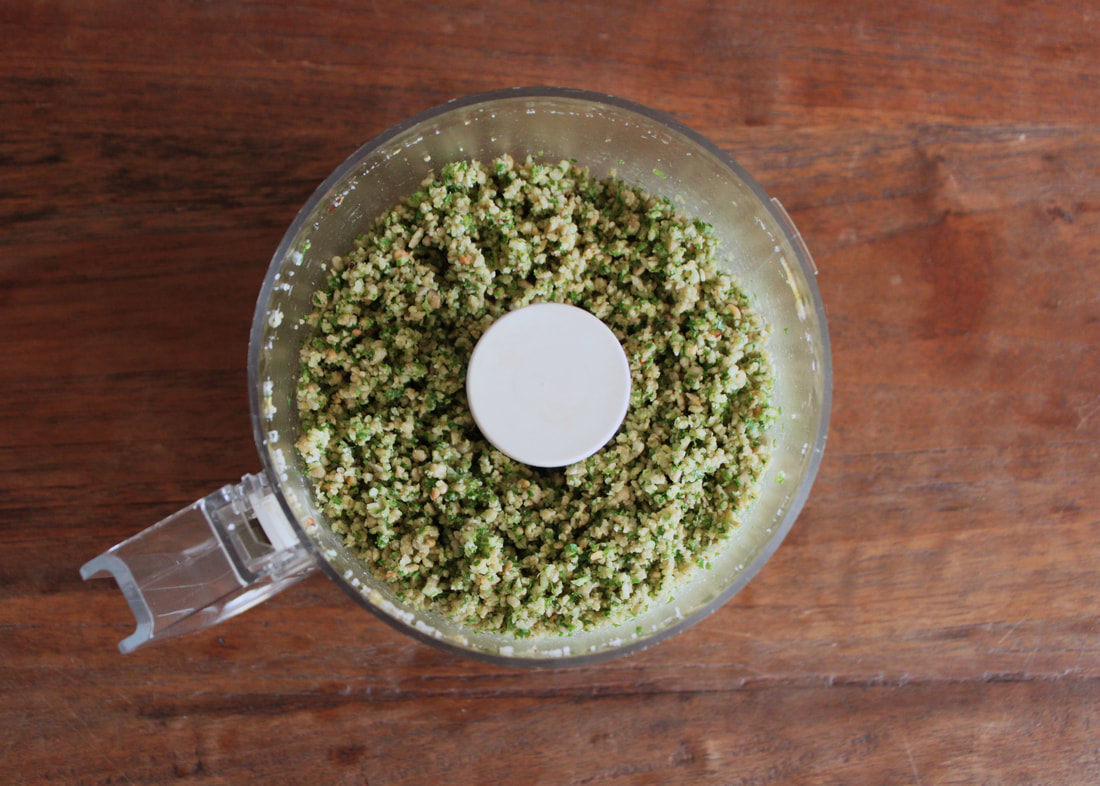
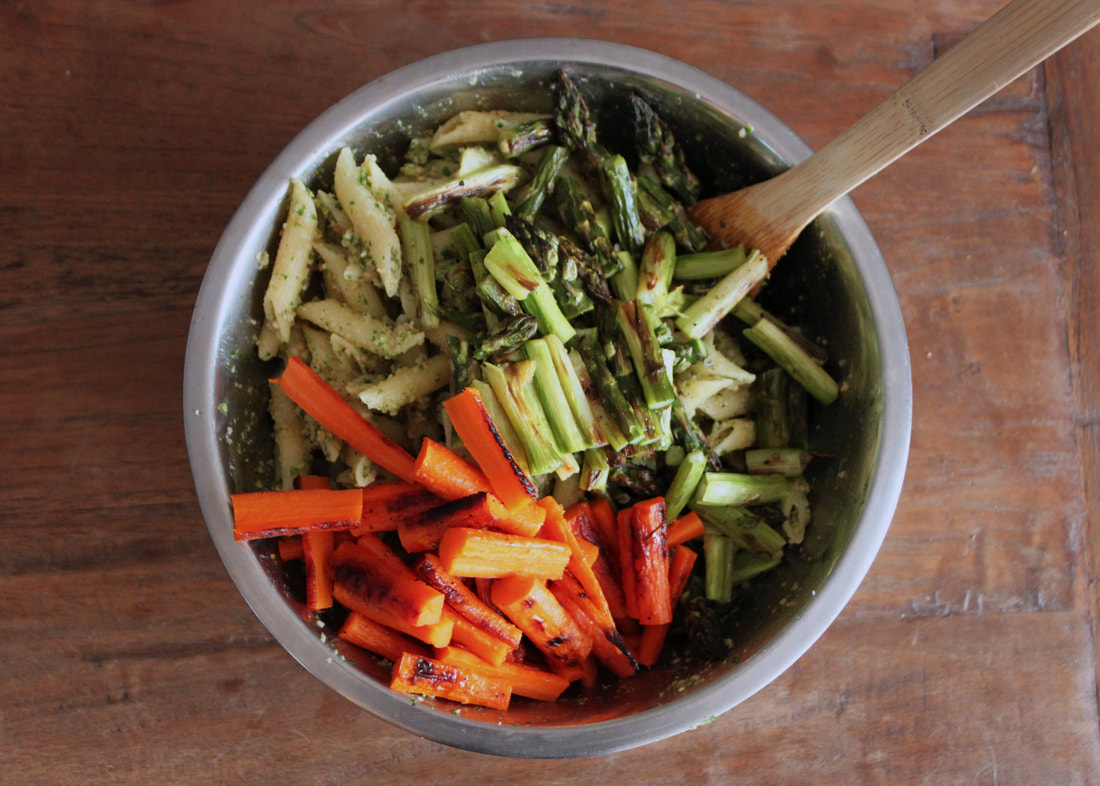
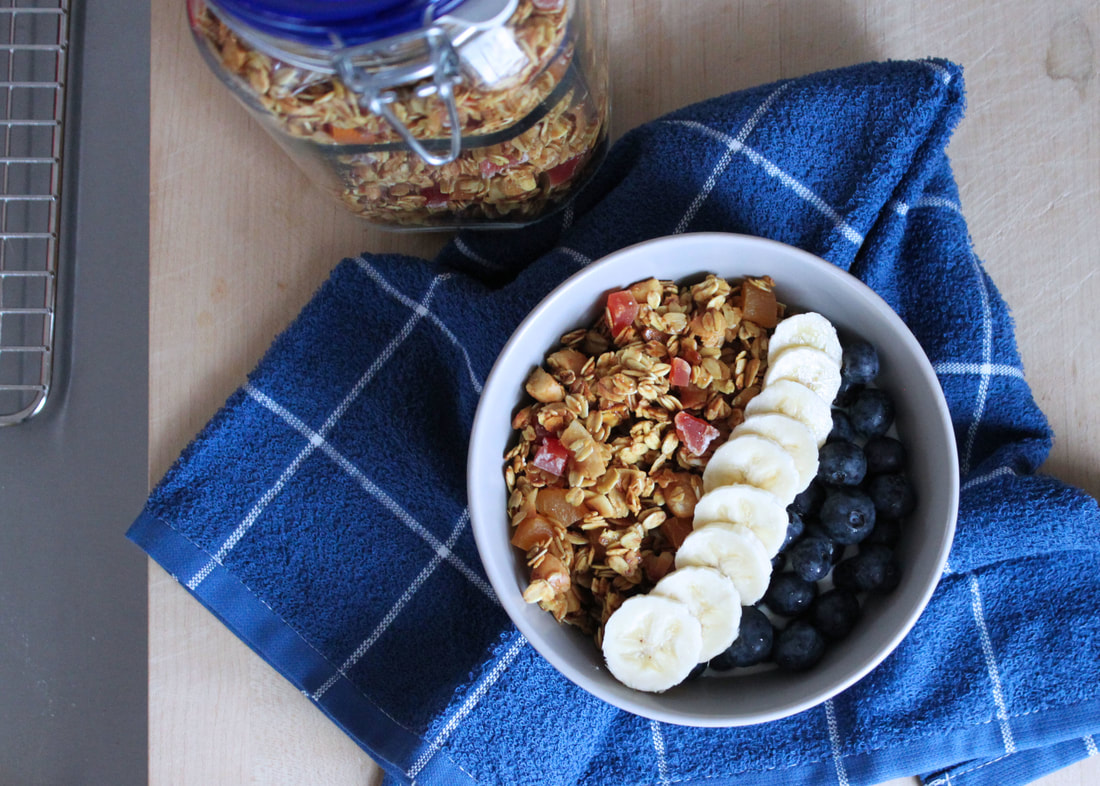
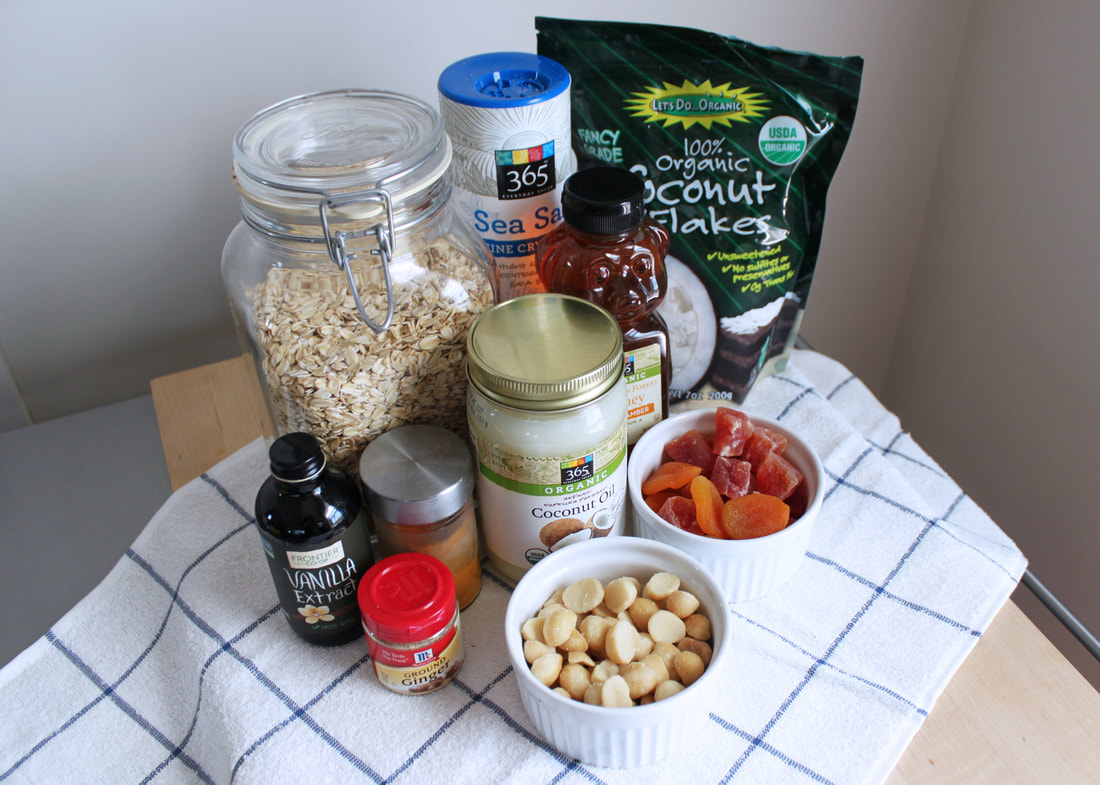
While the oven is preheating, peel the carrots and the bottom half of the asparagus stems, snapping the stems where they are naturally pliable. Lay the carrots and asparagus out on the baking sheet with room to wiggle. Douse the vegetables with olive oil and sprinkle with a generous amount of salt and pepper. Pop the baking sheet into the preheated oven and set a timer for 15 minutes, tossing the vegetables halfway through. After 15 minutes, remove the asparagus from the baking sheet and place on a cutting board. Pop the carrots back in for another 5 to 7 minute depending on their girth. Alternatively, you can leave the asparagus in the full time if you like them rich and melt-in-your-mouth like I do. Once the water in the pot comes to a boil, add the pasta and cook until al dente. Drain the pasta and set aside. You can let the pasta cool completely as Deb suggests, but I found I prefer this pasta salad slightly warmed by the residual heat of the pasta and vegetables. Blitz together in a food processor the sunflower seeds, parsley, Parmesan, lemon zest, salt, garlic powder, red pepper and ground black pepper. The consistency should be finely crumbled, but not so far that it turns into a paste. Add the crumbles to a large mixing bowl and stir in the olive oil and lemon juice. Now you are ready to put it all together. Slice the asparagus and carrots into 1.5” pieces, cutting any thick segment in half or in quarters. Toss the pasta and sliced vegetables in the large mixing boil with the sunflower pesto. Serve with a sprinkling of Parmesan cheese. Granola is one of those staples that either fails to rise to the task of morning nourishment, on par with a sad bowl of cold cereal, or comes in with flying colors. Growing up, my mom’s mystical granola was up there in the same league as blueberry pancakes or a well-executed breakfast sandwich. In college, I’d fend off hungry roommates from my coveted yogurt container filled to the brim with the crispy oats, pecans, and cranberries. This was the granola I knew best, and damn, was it good. However, there came a point when I realized I couldn’t drive to New Hampshire every time I needed a granola fix and my wallet couldn’t subsidize $8 sacks of granola with barely enough contents for a week of breakfasts. Cue the Internet, and Cookie + Kate’s supremely simple and satisfying granola. It would be exaggeration to call this recipe life changing, but I will admit to it being mind altering. With this recipe in hand you can make yourself a two week supply of granola with all your favorite fixings in the perfect ratio (for me, that means heavy on the oats and dried fruit, light on the nuts and seeds) in under 35 minutes. While my go-to combination is still pecans, dried cranberries, and a hint of cinnamon, I wanted to give you a variation more suited to the summer months. The turmeric and ginger give the granola a pop of color and an unexpected, but welcome, warmth beneath a blanket of tangy yogurt. The dried papaya and apricots could easily be swapped for your favorite fruits, but I enjoy the textural diversity of the chewy papaya and soft apricots against the crunch of the oat clusters and rich macadamia nuts. coconut macadamia granolaTotal time: 35 minutes (plus cooling for a few hours or overnight)
Serves: 15-20 portions Source: Adapted from Cookie + Kate, “The Very Best Granola Recipe." 4 cups thick rolled oats * ½ cup of honey gets you more crunch and glaze, but not in an overly sweet way. If you do want to cut back the AM sugar rush – this works just fine with 1/3 cup, but I wouldn’t use any less than that. Preheat the oven to 350°F and line a large baking sheet with parchment paper.
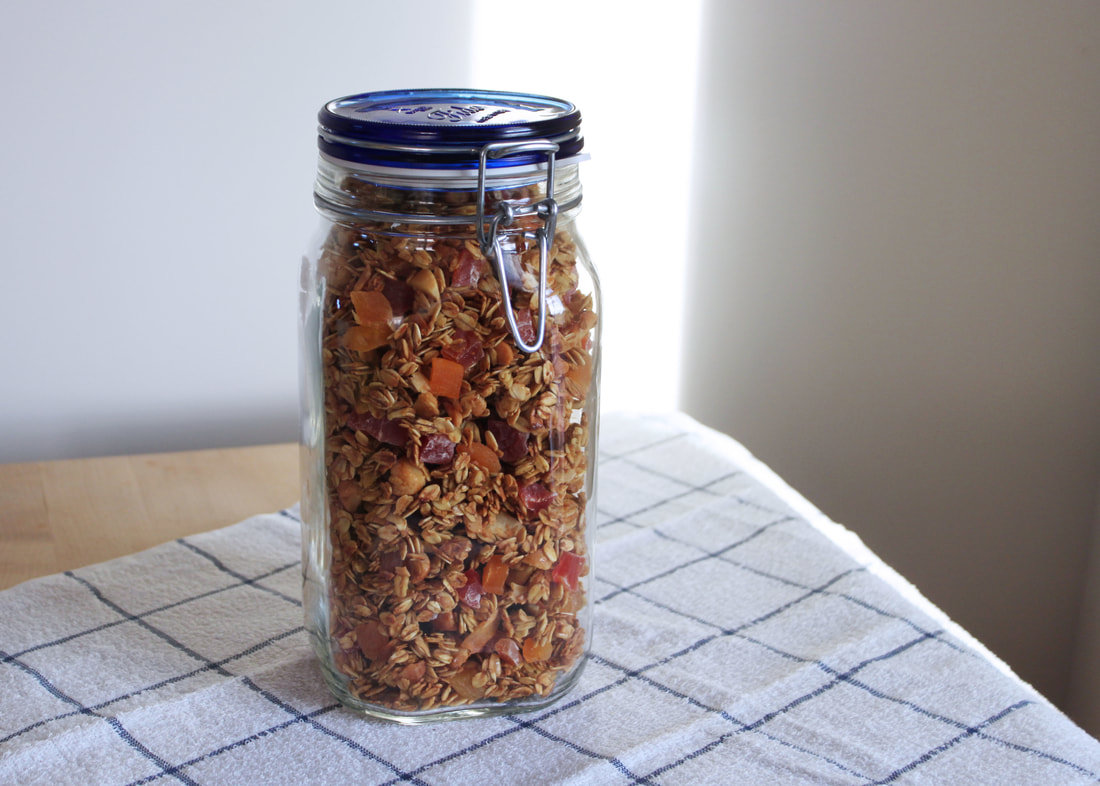
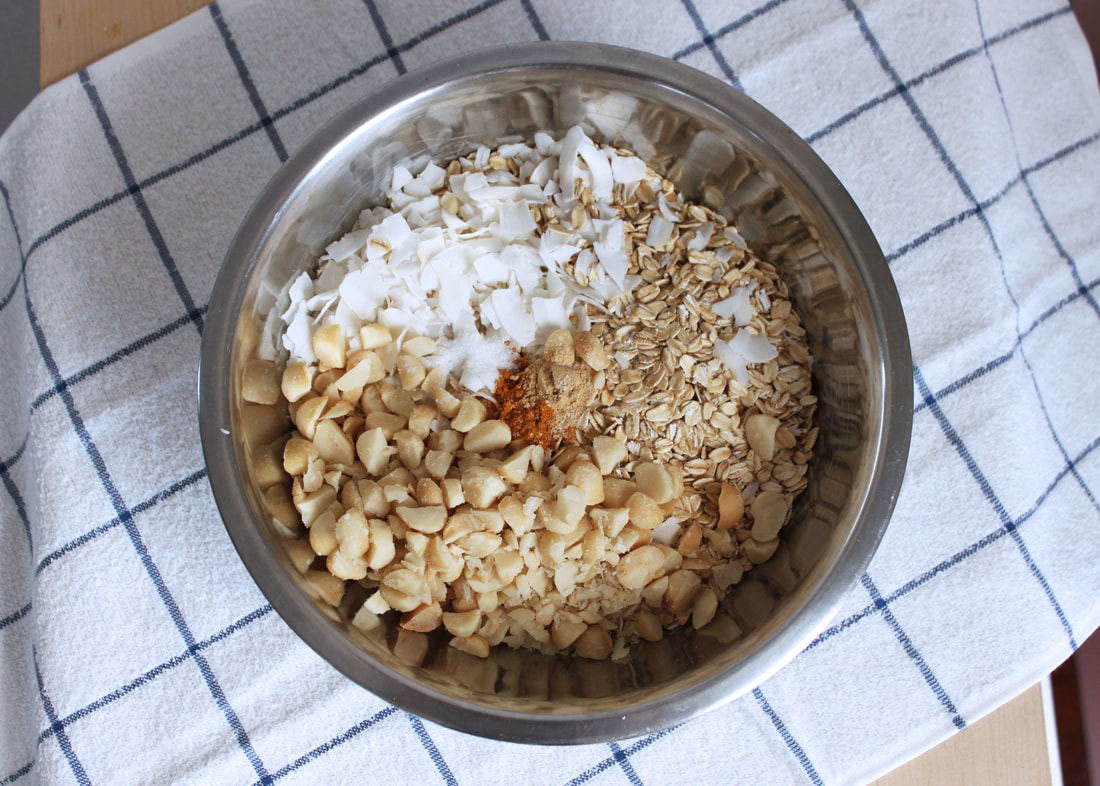
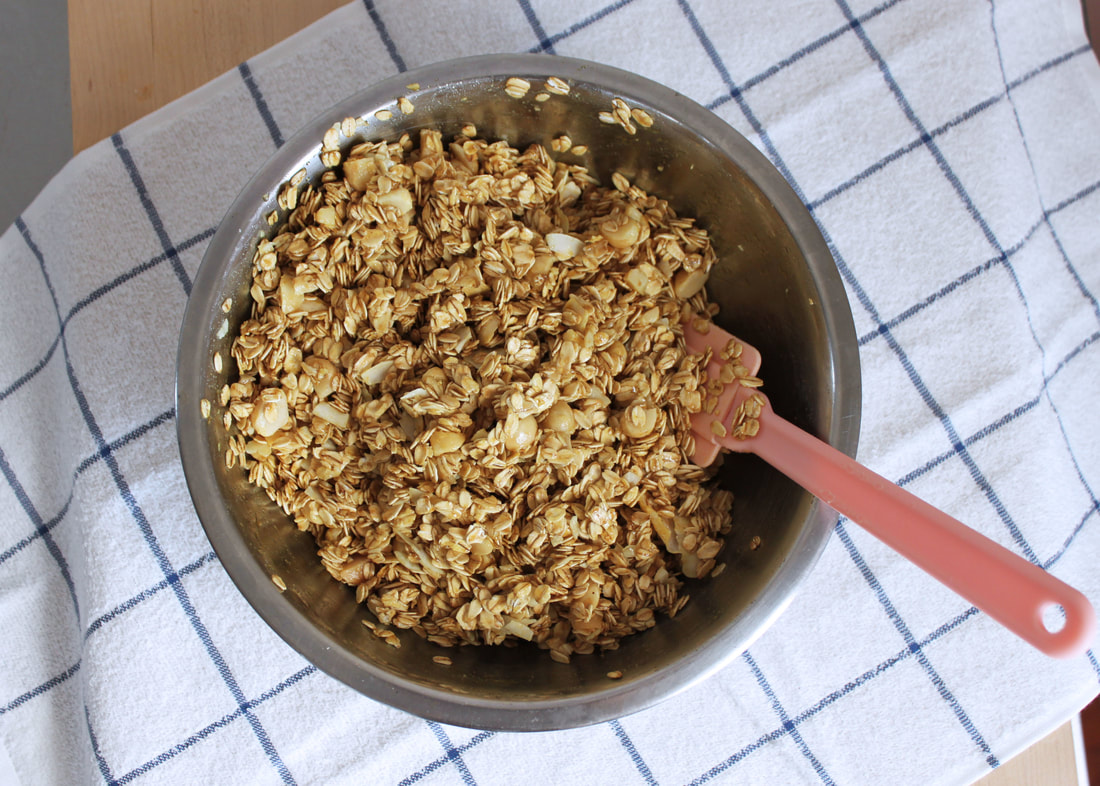
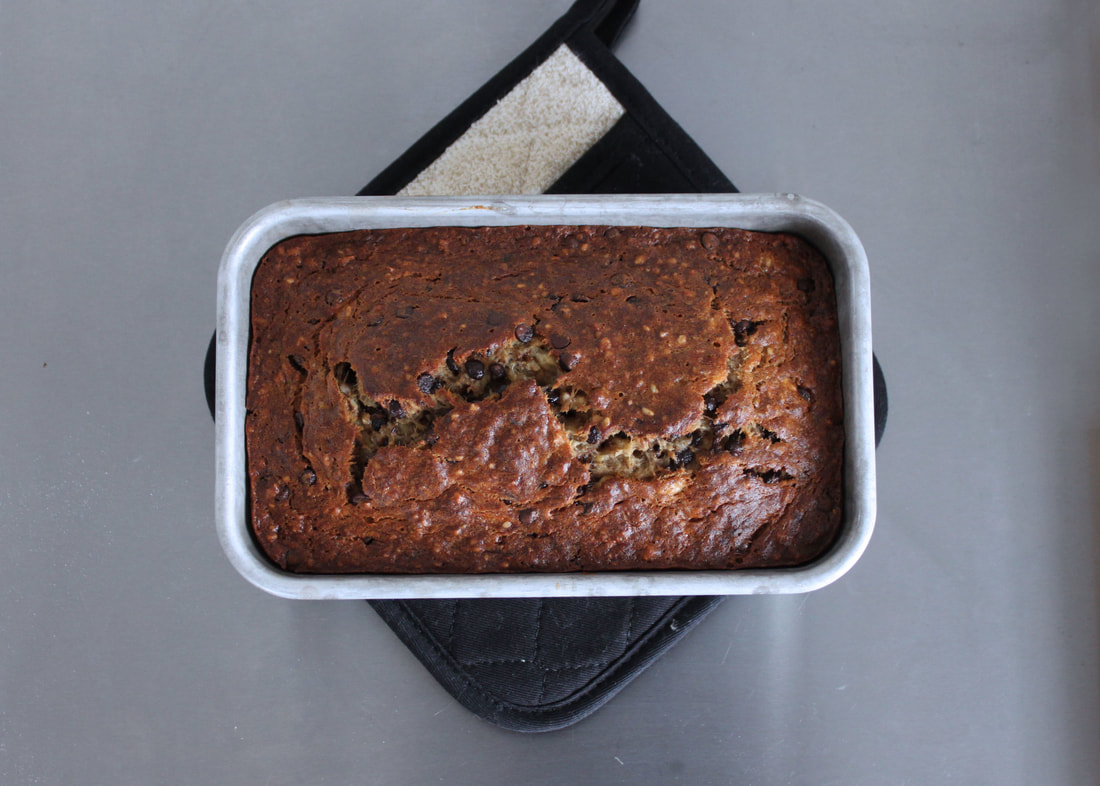
Pour the oats, coconut flakes, chopped macadamia nuts, turmeric, ginger, and salt into a large bowl. If your coconut flakes are oversized, break them into more manageable-sized flakes with your fingers. Toss the dry ingredients together with a spoon (or your hands). In a small bowl, melt the coconut oil in the microwave to bring it to a liquid state (15 to 20 seconds will do the trick). Add the honey and vanilla extract, and whisk gently to incorporate with the oil. Pour the wet ingredients over the dry ingredients in the large mixing bowl. Stir until everything is well coated. The granola will be a delightful yellow hue from the turmeric. Spread the granola out in an even layer on the lined baking sheet. Pop the baking sheet in the oven and cook for 26 minutes, stirring halfway through. In the meantime, chop up the papaya and apricots into bite-sized morsels. Once lightly golden, take the granola out of the oven and let it cool completely on the baking sheet without touching it (important step to achieve your desired granola chunk-age). After the granola has cooled completely, sprinkle the papaya and apricots over the top and break up the sheet of granola into chunks to combine with the fruit. Store in an airtight container and revel in your newfound freedom from store-bought granola. Enjoy with yogurt, fresh fruit, and a drizzle of honey. This is going to make me sound like a terrible person, but maybe that will make me seem relatable. There is nothing worse (yes, I’m being hyperbolic) than unwelcome banana bread. You know, that slice of bread you feel socially compelled to eat and smile through each bite of the dry, walnut heavy, chocolate-less-ness – all while under the earnest stare of a co-worker or friend-of-a-friend? It’s not their fault! If you’ve ever been exposed to banana bread in its full glory, there’s no turning back. For me, this banana bread elitism was a side effect of by raised by the goddess of baked goods. My mom turns even the most humble banana bread into a dessert you might crave enough to intentionally let those bananas go past the point of human consumption, just to have an excuse to make it. This is my take on her recipe – still managing to be moist and desirable with coconut oil in place of the generous amounts of butter and the sugar reduced slightly to offset the sweetness of overripe bananas. Finely chopped pecans give it a subtle crunch and a healthy dose of chocolate chips make it ooze wonderfully when you take a slice. Un-Snub-Able Banana BreadTotal time: 1 hour and 30 minutes
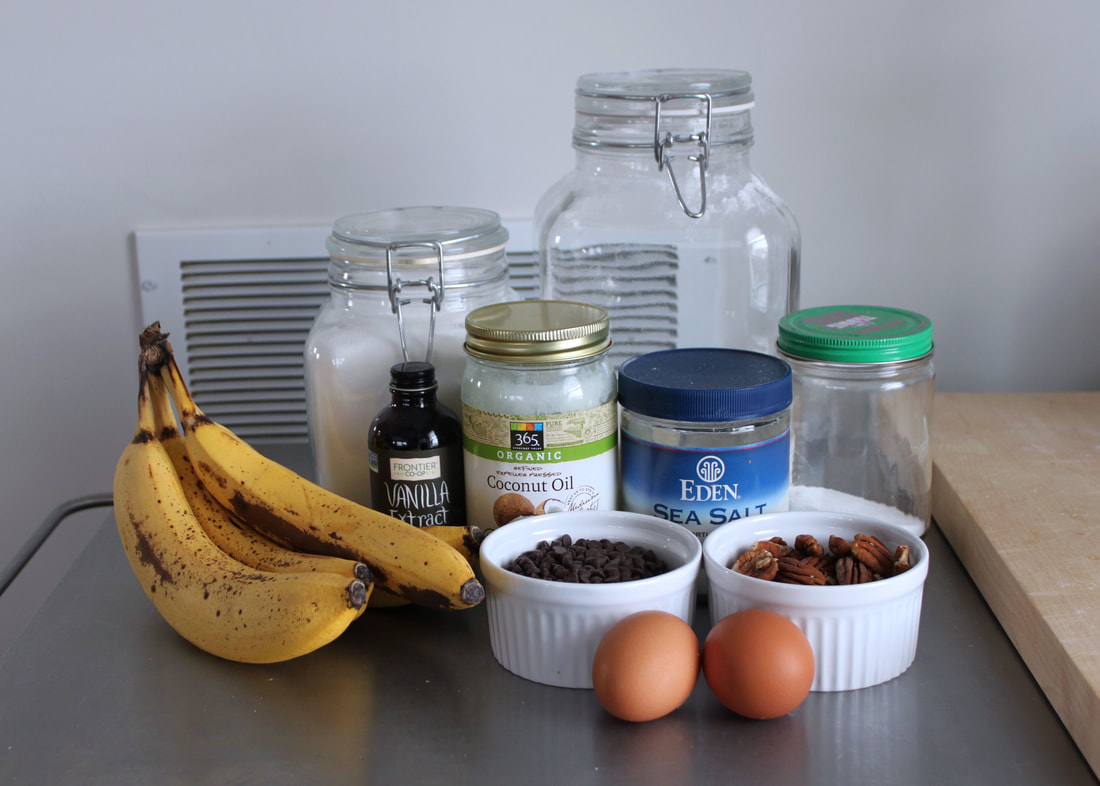
Yield: 1 loaf 3-4 overripe bananas* * Disclaimer: the bananas pictured above are too yellow to yield a perfectly sweet loaf. I recommend using bananas that are nearly brown all over, but not quite to the point where they seem to be fermenting. If you for some reason need banana bread right now, and your bananas are still more on the yellow side, compensate by adding an additional ¼ cup of sugar. Preheat the oven to 350° F. Grease a 9”x5” loaf pan with butter or coconut oil.
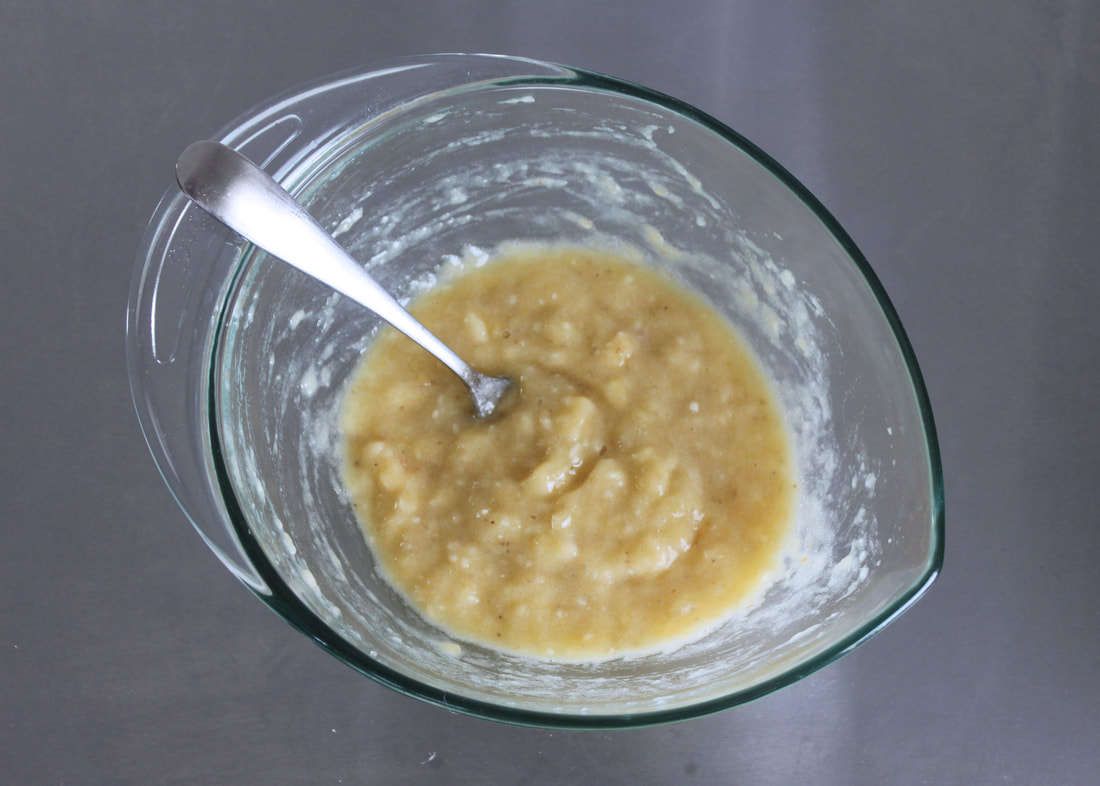
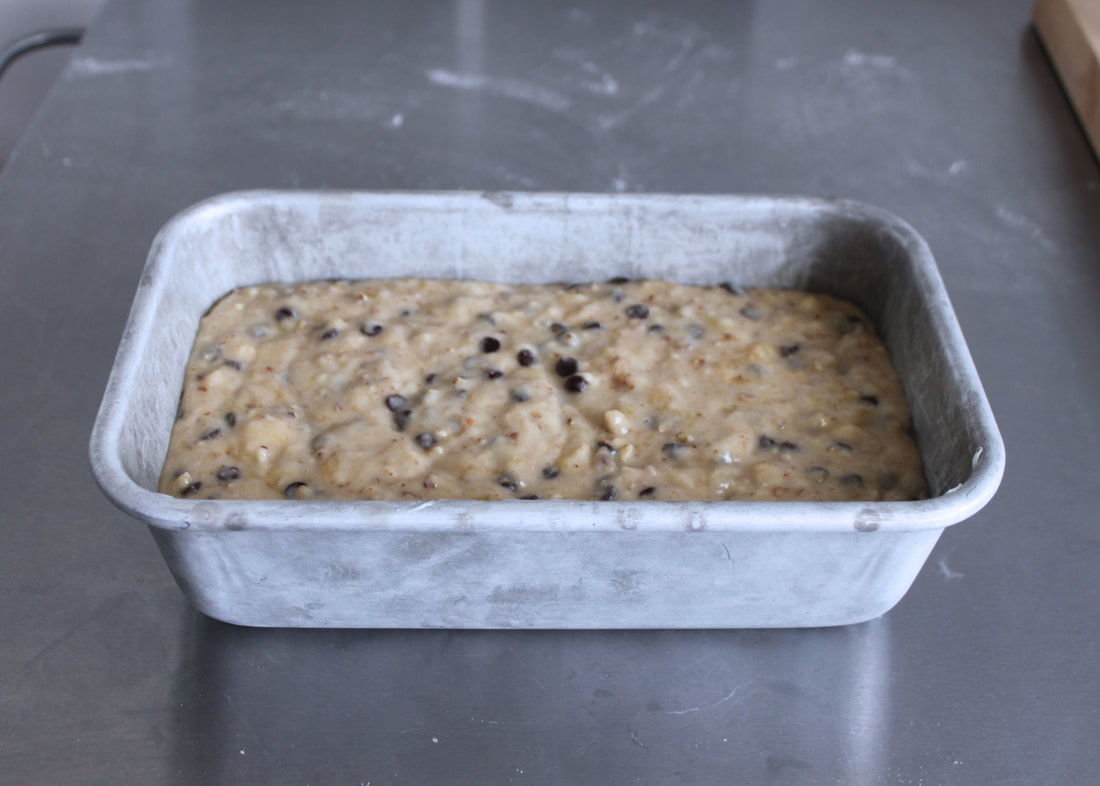
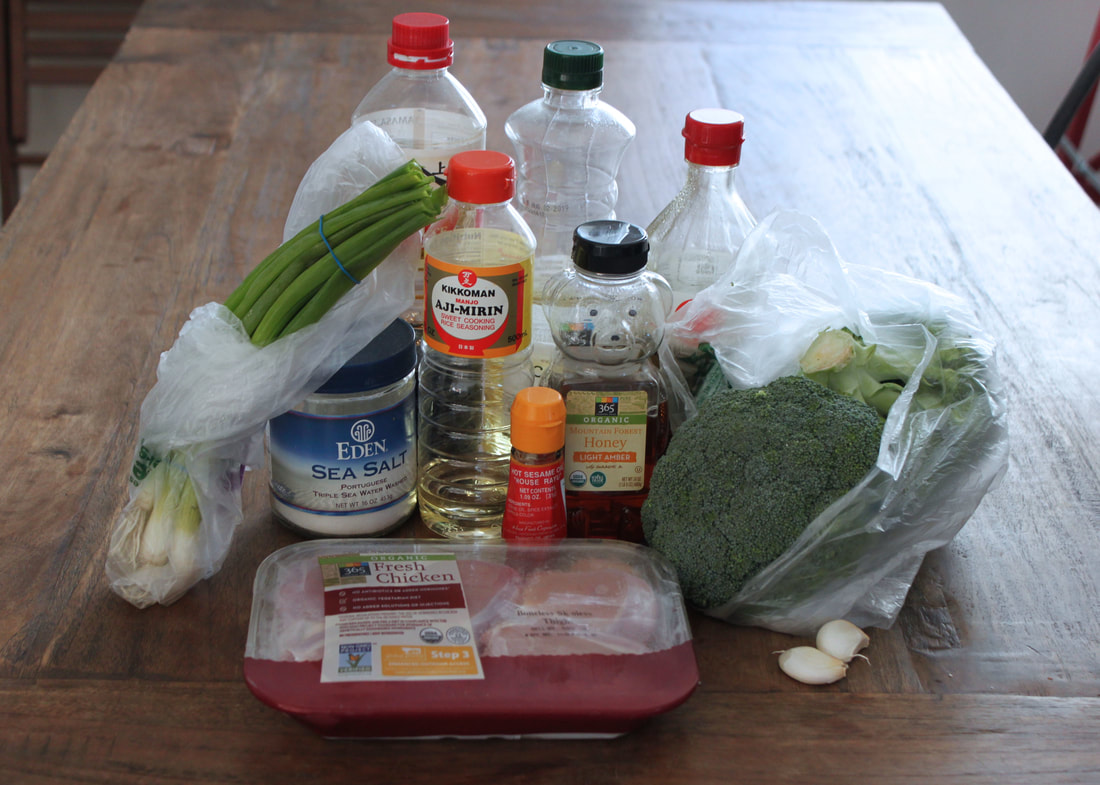
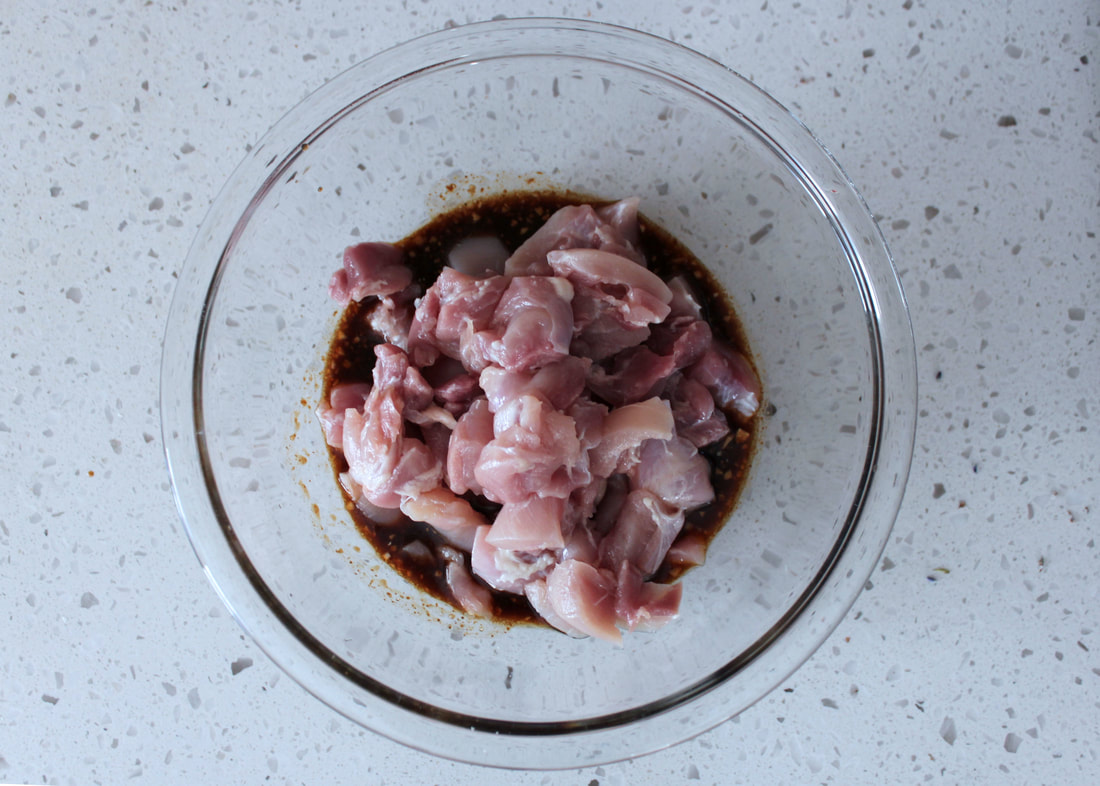
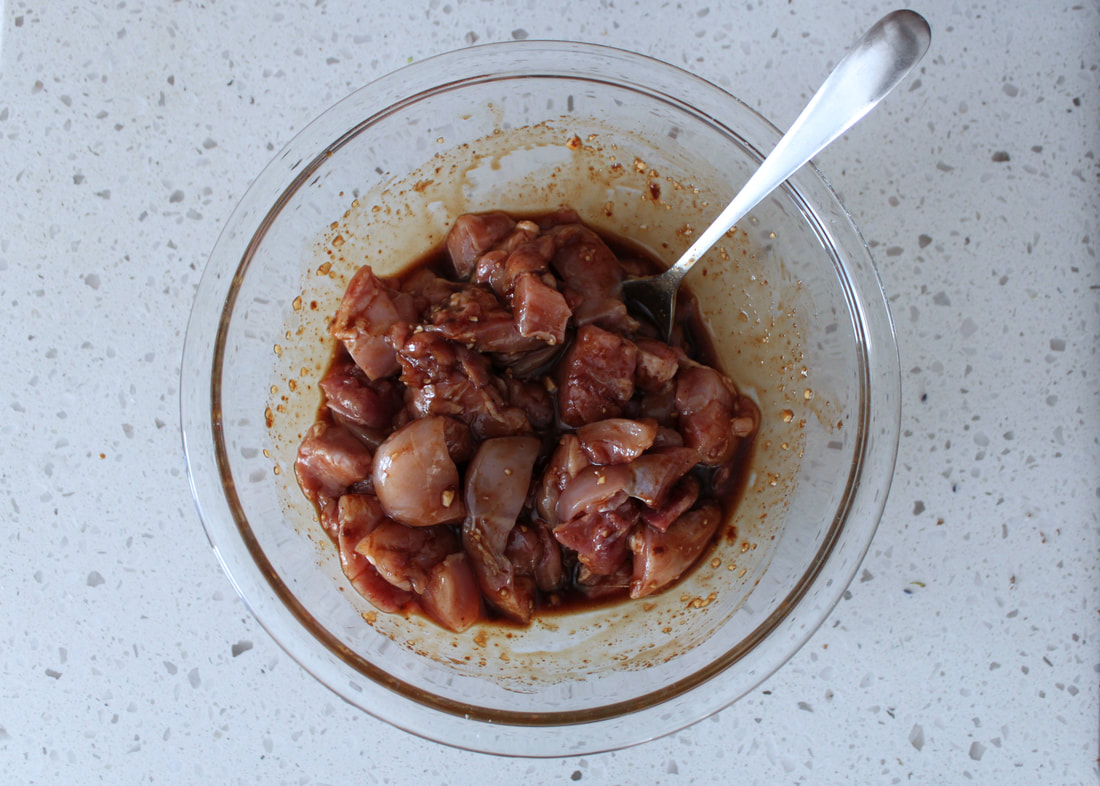
Mash up the bananas with a fork in a large mixing bowl. Once the bananas are the consistency of applesauce (i.e. few-no banana chunks), whisk in the melted coconut oil and sugar. Beat the eggs in a small bowl. Whisk the eggs and vanilla into the banana mixture. Sprinkle the baking powder and salt evenly over the top of the mixture and fold in using a spatula (this is important to make sure the loaf rises evenly). Now, gently fold in the flour, and then the chocolate chips and chopped pecans. Try not to over-mix here to keep the bread nice and light. Pour the mixture into the greased loaf pan and pop into the oven for 1 hour. Check the loaf with a toothpick – it will come out clean if the loaf is done. I find my loaves usually need another 10-15 minutes, but recommend checking after an hour to avoid accidentally burning/over-baking. Once baked, remove from the oven and cool in the pan for 15-20 minutes. Tip the loaf out and finish cooling on a wire rack – or slice right away and enjoy the hot bread and gooey chocolate chips with a hunk of butter melted on top, I’m not going to judge. I’m sure there were recipes that came before, but this one is fixed in my mind as, “where it all started.” The tipping point from cooking-to-survive to a home cooking obsession, and the start of venturing beyond the boundaries of the delicious meals my mother had taught me. It’s a little odd that this sort of kitchen aha moment would result from boneless skinless chicken thighs. Less odd though if you know me, because the main reason I sub Deb’s wingettes for bite-sized chunks of dark meat is purely the laziness of not wanting to deal the mess and fuss of eating chicken wings. I know, I’m weird, but I promise you’ll like it too. My boyfriend and I dork-ily first referred to this recipe as “magic chicken,” and the silly name stuck. Partially because the caramelization of the sauce tricks you into thinking it’s guilty-pleasure take-out. Mostly because it’s a bit magical how you can throw everything into a bowl, pop it in the oven, and half an hour later tuck into a satisfying, mostly balanced, dinner. I’ve included with it a simple recipe for stir-fried broccoli because it is my favorite accompaniment but I’m sure it would be good with any other veggie side of your choosing (perhaps some steamed edamame or spicy garlic green beans). magic sesame chicken & stir-fried broccoliTotal time: 50 minutes
Serves: 4 people or 2 with leftovers Source: Adapted from the Smitten Kitchen’s Sticky Sesame Chicken Wings 1.5-2 lbs. boneless skinless chicken thighs To make the chicken:
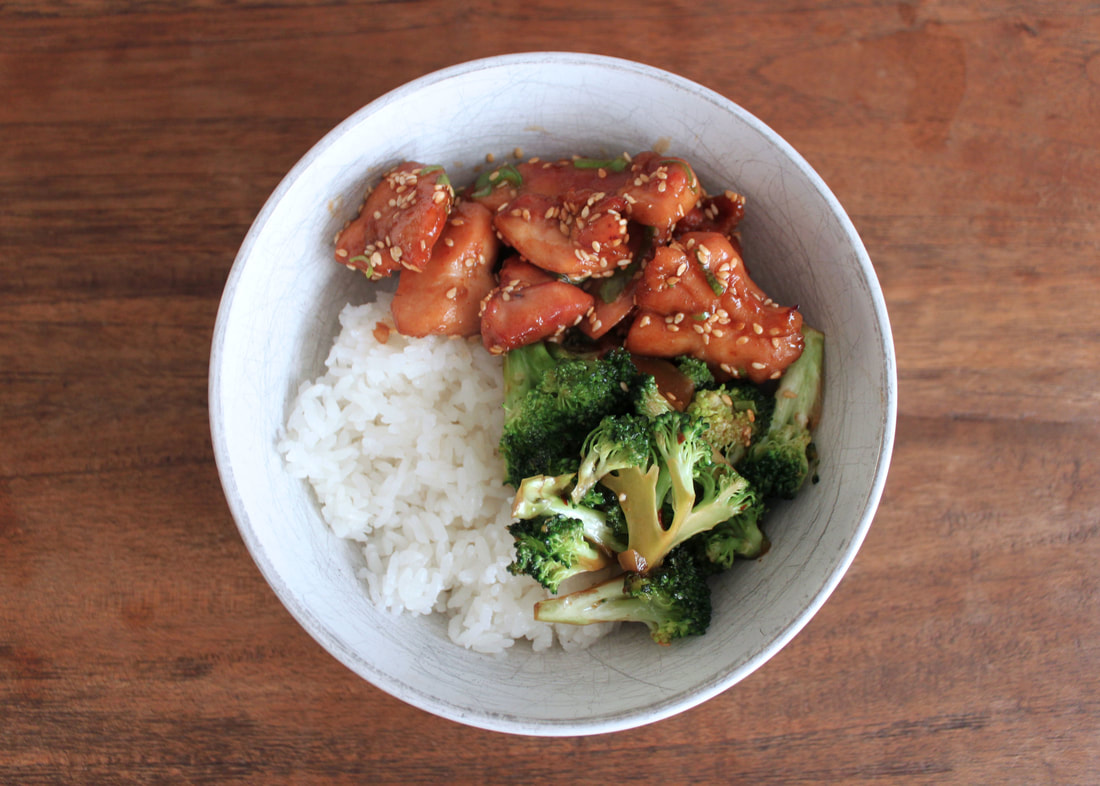
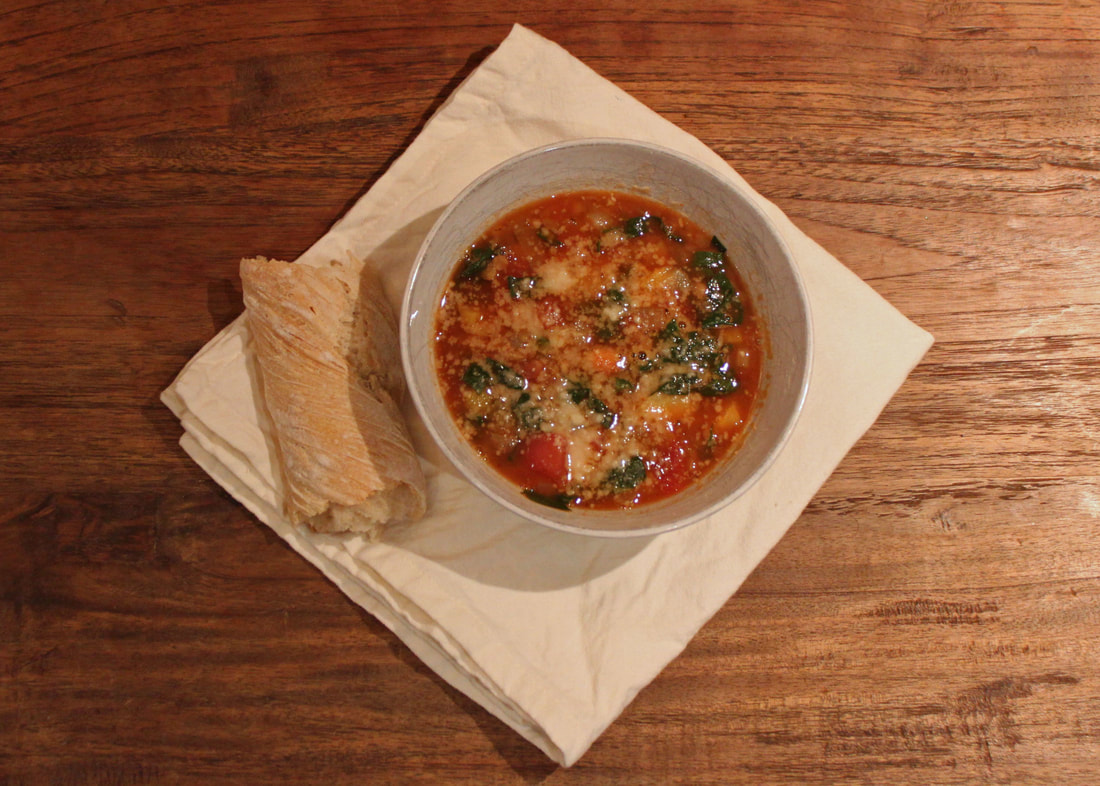
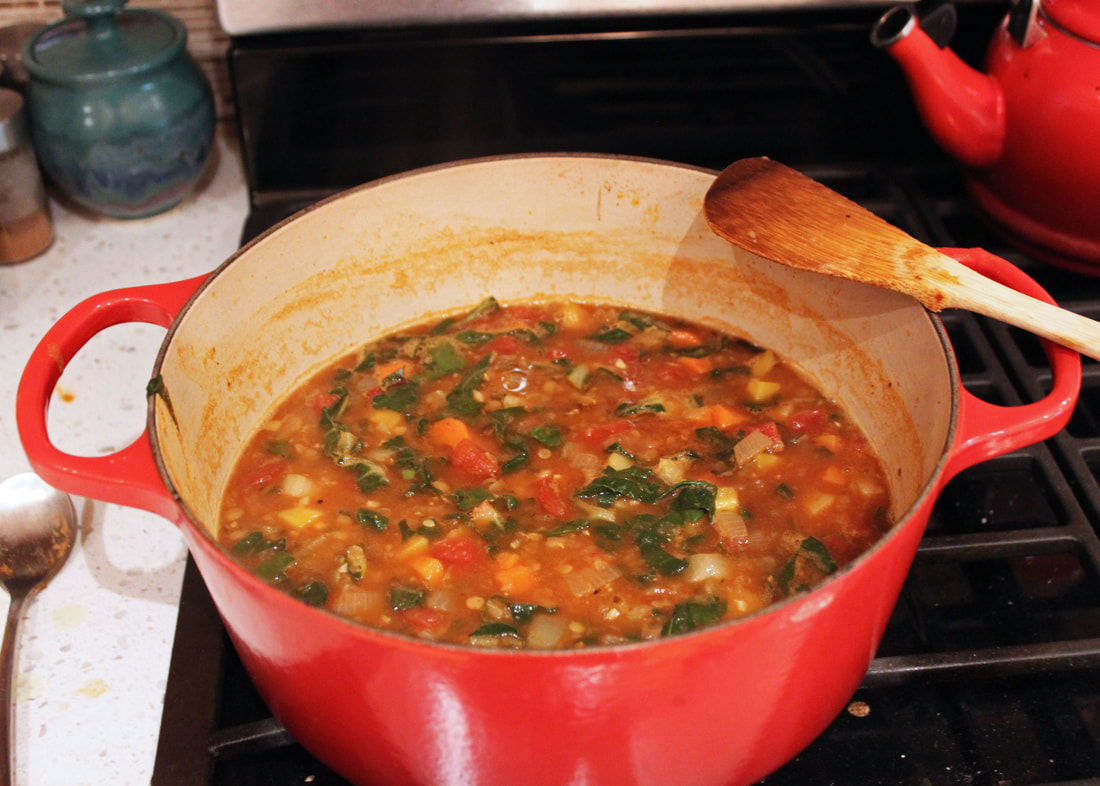
Preheat the oven to 425°F. Line a 9x13 inch glass baking dish with aluminum foil and coat it lightly with oil. Alternatively, you could also use baking sheet if there’s enough of a lip to tray but I’ve found it’s less of headache to use a larger vessel to avoid any spillage. Lightly toast the sesame seeds in a frying pan over medium-low heat, about 5 minutes. Toss the seeds occasionally to prevent them from burning – remove from the heat and set aside in a small bowl. Mince the garlic and mix together with hoisin sauce, soy sauce, mirin, honey, dark sesame oil, salt, and hot sesame oil in a large bowl. Trim excess fat from the boneless skinless chicken thighs and cut into bite-sized pieces (1-2 inches). Add to the large bowl and stir to coat with the sauce. Spread the chicken pieces out across the baking dish and pour any remaining sauce in the bowl over the chicken. Make sure everything is more or less evenly spaced out. Place on the middle rack in the oven and cook for 30 minutes, turning the pieces over after 20 minutes. While the chicken is baking, start your rice, chop the scallions, and make the stir-fried broccoli (see instructions below). Once fully cooked, take the chicken out of the oven and transfer to a large serving bowl. Pour any collected sauce over the chicken and toss with the scallions and sesame seeds. Serve with rice and stir-fried broccoli. To make the broccoli: Discard the woody stems of the broccoli and cut the florets into smaller pieces. Heat equal parts vegetable oil and sesame oil in a large frying pan over medium-high heat. Add the broccoli florets and stir-fry until bright green – about 5 minutes. Add the soy sauce and do not touch the broccoli for 2 minutes (this allows the soy to sear the broccoli on one side). Stir the broccoli and add the mirin and red pepper flakes – turn the heat down to medium-low and cover to steam the broccoli for another 2 minutes, or until tender. It seems almost like a requirement for every food blog to have some variation of lentil soup presented to the Internet. Some are curried, some are meaty, and some are a little bit detox-y. But in my experience, nothing stands up to this simple, but flavorful, veggie-heavy, and stew-like version. The recipe came to life during a particularly brutal New England winter, in a drafty apartment in Jamaica Plain I was sharing with my sister. This lentil soup is particularly good at satisfying you the same way a pile of pasta does – while making you feel less guilty about prior gastronomic indiscretions. I’ve borrowed my sister’s method of frying up the tomato paste with aromatic onions and garlic and included some tweaks to bump up the flavors. Two Sisters Lentil SOupTotal time: 1 hour
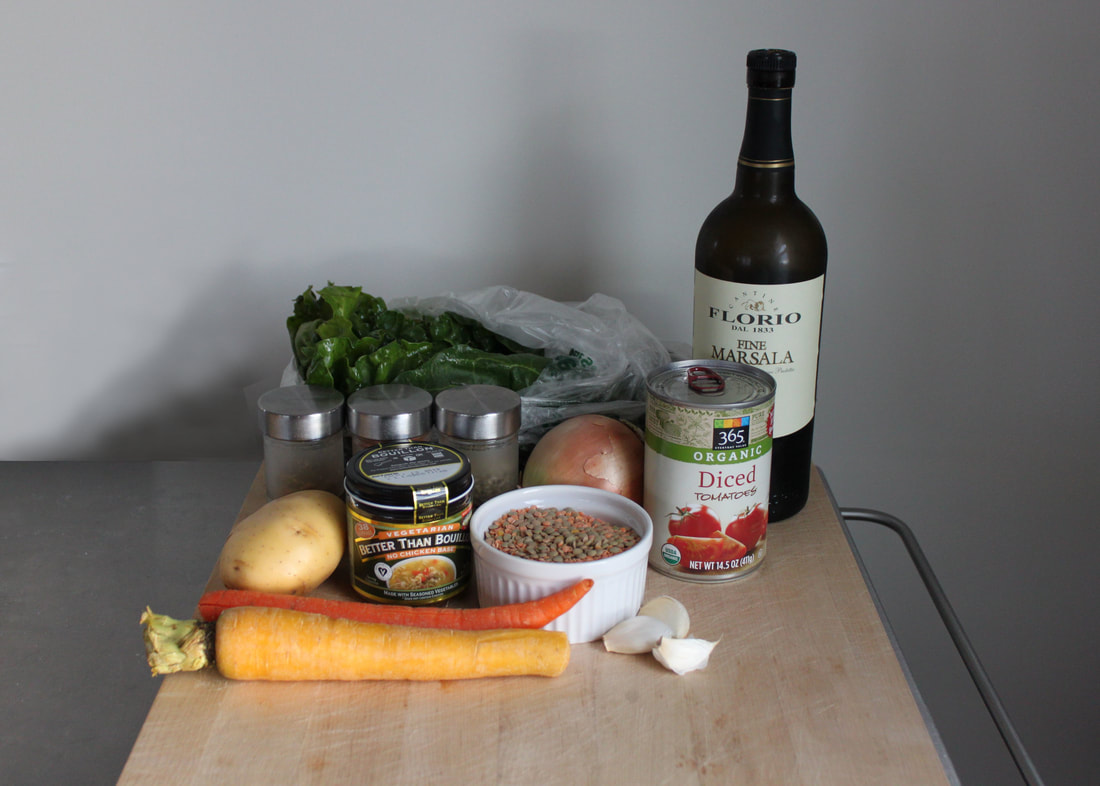
Serves: 8 hungry souls or 2 with leftovers for several days 2-3 tbsp. olive oil * Any other dry cooking wine you have hanging around in the back of your fridge will work. You can also cut this and have a totally delicious soup. * I prefer half red lentils and half green lentils for variety in texture. * I used 2 tsp. chicken bouillon and 6 cups of water, but you can also do this recipe with water only and compensate with extra spices and a squeeze of lemon juice. Mince garlic and dice onion. Measure out all spices into a small bowl. Rinse lentils in a mesh strainer thoroughly and check over for any little rocks.
Warm olive oil in a Dutch oven or large heavy bottomed pot over medium heat. Add onion and sauté until golden and translucent, about 5-7 minutes. Add garlic and sauté garlic until fragrant, about 30 seconds. Add all the spices and stir to combine with the onions and garlic. Toss in the tomato paste and fry for 1-2 minutes (add more oil as needed). Right when everything is starting to brown and seems like it's seconds from disaster, pour in the Marsala wine to deglaze the pan. Now, add the lentils, broth, and bay leaves. Bring to a simmer over medium heat and then reduce to low. While the broth is coming to a simmer, chop the carrots and potatoes. Once the broth is simmering, add in the carrots, potatoes, and canned diced tomatoes. Cook until vegetables and lentils are tender, about 25-30 minutes. Meanwhile, prep the chard by chopping off the grungy ends, cutting the leaves in half along the stem, and slicing thinly into ribbons. When the veggies are cooked through, toss in the chard and cook until wilted, about 5-7 minutes. Season with salt and pepper to taste. Serve in a cozy bowl with ample Parmesan and bread for dipping. |



 RSS Feed
